
Make Better Documents and Edit More Easily with Show Invisibles
Some of the trickiest editing and proofreading problems are related to characters you can’t typically see on the screen: spaces, tabs, and returns. Just because they’re invisible doesn’t mean they don’t affect the look of a document, often in negative ways. For instance:
- An extra space can cause an awkward jump from one word to the next, or it could push punctuation away from the final word in a clause or sentence. And yes, current convention among professional publishers and typographers calls for one space after a period, not two.
- The wrong number of tabs might not be obvious until you add or remove text from the line, at which point having too many or too few tabs will suddenly mess up the formatting.
- An extra return causes a line break, something that you might overlook if the return falls naturally where the line would break on its own, but as you add or remove text, the line break could become embarrassing.
These and similar errors are easy to make or to encounter in copied and pasted text. They’re equally easy to fix, but only if you know why they’re happening. To help you identify them, most Mac word processors, page layout programs, and text editors have a command or option called something like “Show Invisibles.”
As you would expect from the name, Show Invisibles replaces previously invisible characters with something you can see. Spaces are generally replaced with a vertically centered dot, tabs with some sort of right-pointing arrow, and returns with something that’s formally known as a pilcrow but more commonly called a paragraph mark. Here’s what they look like in Pages.

Revealing invisible characters is tremendously helpful, but it can also clutter up the display and make text harder to read. So every app that lets you show invisibles also makes it easy to hide them again so you can focus on your text.
Note that even if you can see invisible characters on the screen, they will not show in a printout of the document.
Precisely where you find the Show Invisibles command—and what it’s called—varies from app to app. Here’s where to look in some popular Mac word processing, page layout, and text editing apps:
- Pages: In Apple’s Pages, you can reveal invisible characters by choosing View > Show Invisibles. To hide them, choose View > Hide Invisibles—the command changes based on whether or not they’re showing.
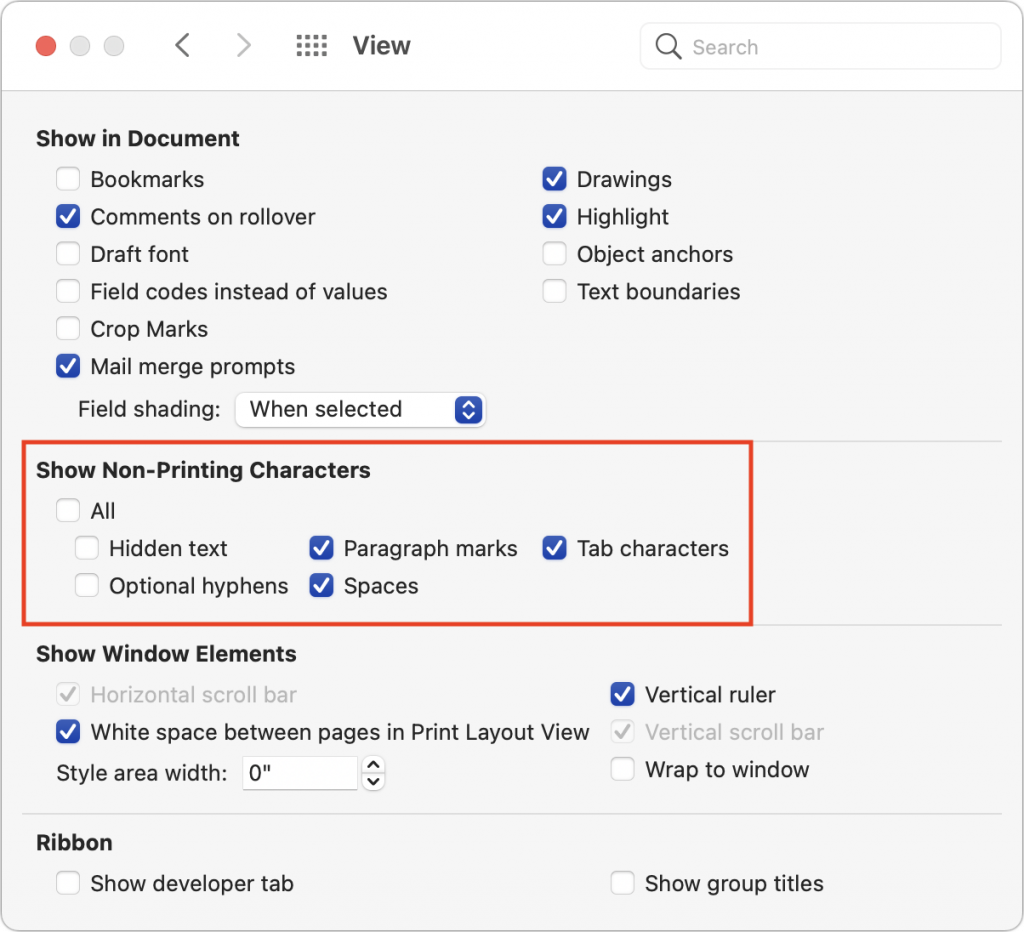
- Microsoft Word: In Microsoft’s near-ubiquitous word processor, the primary way you show and hide invisibles is by clicking the ¶ button in the Home toolbar. Click it once to show and again to hide. However, if you always want certain invisible characters to appear, you can select them individually in Word > Preferences > View > Show Non-Printing Characters.

- Nisus Writer Pro: In this highly capable, long-standing alternative to Microsoft Word, choose View > Show Invisibles. When selected, it gains a checkmark. Choose it again to conceal the characters and remove the checkmark.
- Scrivener: In this word processor aimed at long-form writing and screenwriting, choose View > Text Editing > Show Invisibles. Choose it again to hide them.
- Adobe InDesign: In Adobe’s market-leading page-layout app, choose Type > Show Hidden Characters. The command changes when selected. Hide them again by choosing Type > Hide Hidden Characters.
- Affinity Publisher: In this inexpensive but surprisingly full-featured competitor to InDesign, the command you’re looking for is Text > Show Special Characters. When you choose this command, it gains a checkmark. Choose it again to hide invisible characters and remove the checkmark.
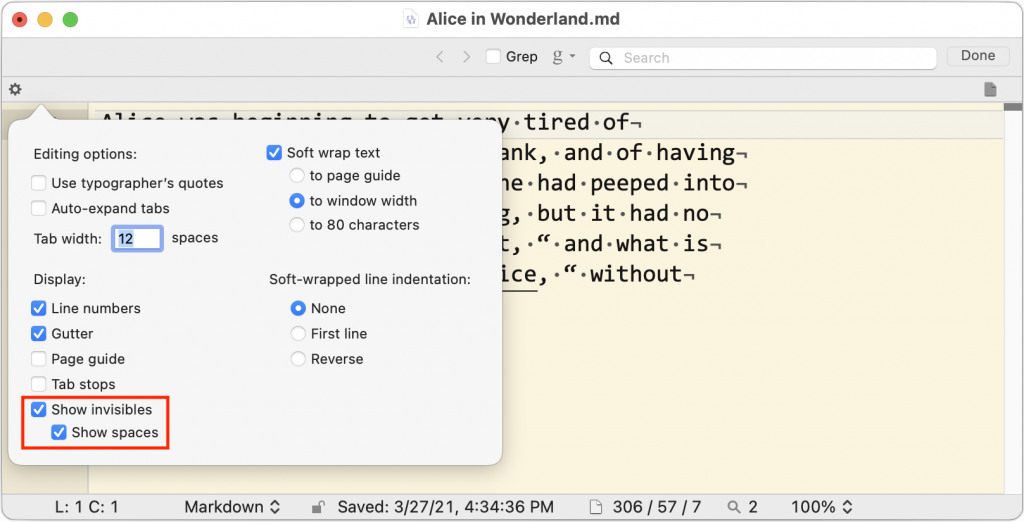
- BBEdit: This text-editing powerhouse aimed at developers, bloggers, and Web designers lets you show tabs and returns, spaces, or both. Either choose the Show Invisibles and Show Spaces commands in View > Text Display or click the tiny gear icon in the upper left of the window and select the appropriate checkboxes.
Not all text-focused apps offer a way of displaying these invisible characters. For instance, we know of no way of doing this in Apple’s TextEdit. Nor is it possible in the online word processor Google Docs, although you can achieve a similar effect temporarily by choosing Edit > Find and Replace, selecting Match Using Regular Expressions, and then searching (one at a time) for a space, for \t for tabs, and for \n for returns.
Even if you’re using an app not mentioned above, our descriptions of their approaches should give a sense of what to look for in the interface or the app’s documentation. Enjoy your newfound ability to see beyond the visible!
(Featured image by Aleksandar Pasaric from Pexels)

