Is it time to make your Apple devices smarter? Apple has just released macOS 15.1 Sequoia, iOS 18.1, and iPadOS 18.1 with an initial collection of Apple Intelligence features and a promise of more coming in December. The company is making a big deal about Apple Intelligence, calling it out as a key feature of the recent updates to the iPad mini, iMac, Mac mini, and MacBook Pro.
You may need some of that new hardware to take advantage of Apple Intelligence. Its features work only on a Mac with Apple silicon, an iPad with an A17 Pro or M-series chip, or an iPhone 15 Pro or any iPhone 16. Intel-based Macs and older iPhones and iPads can’t play.
Although we have no problem with recommending that you upgrade your iPhone and iPad to iOS 18.1 and iPadOS 18.1, we recommend more caution when it comes to upgrading your Mac to macOS 15.1 Sequoia. There aren’t any general showstoppers, but you shouldn’t upgrade until you’re confident your particular workflows are fully compatible.
What will Apple Intelligence do for you if you upgrade? Here’s what you need to know.
Writing Tools Everywhere
The Apple Intelligence Writing Tools will help you craft and polish your prose—or just make your email sound more professional. Writing Tools provides three core functions:
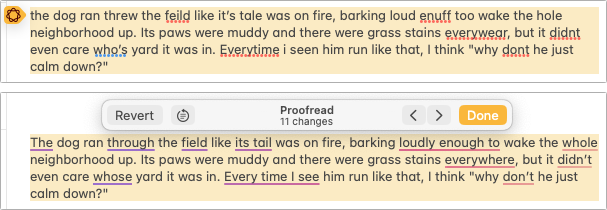
- Proofread: The Proofread tool will significantly reduce spelling, punctuation, and grammar mistakes in your text. While it may not match up with a human proofreader, using it will make your text cleaner.
- Rewrite: If you’re unhappy with the tone of your text, use the Rewrite tool to improve it or make it friendlier, more professional, or shorter. Even if you don’t adopt the complete rewrite, some of its phrases or word choices might take your writing up a notch.
- Summarize: A straight summary might be useful for condensing text, and specialized summaries can list key points, make a list, or create a table. These features are probably most useful when working with text you’ve been given and need to edit into shape.
Writing Tools are available in nearly all apps that accept text. Either look for an Edit > Writing Tools menu or Control-click a text selection and look in the Writing Tools submenu. Right now, Apple apps like Mail and Notes provide proofreading controls that let you see (and revert) each change independently. With the Rewrite and Summary tools and Proofread in other apps, you have to compare the original and the rewrite manually, with your only options being to replace the selected text or copy the suggested revision.
Photos Enhancements
Photos benefits from Apple Intelligence in three ways as well:
- Clean Up: Many a great photo suffers from a random bystander or distracting telephone pole. Clean Up removes people and objects from your photos, either identifying them automatically or working from your manual selection. It’s not perfect, but Clean Up is a hugely welcome addition to Photos.

- Descriptive search: We’ve been able to search for objects in photos for several years now, but with Apple Intelligence, you’ll be able to find photos and videos based on more extensive and natural descriptions, like “Halloween in 2014.”
- Descriptive memory movies: The Memories feature in Photos automatically creates movies based on photos it thinks you might want to see together. With Apple Intelligence, you can describe the photos you’d like it to include.
Notification Summaries
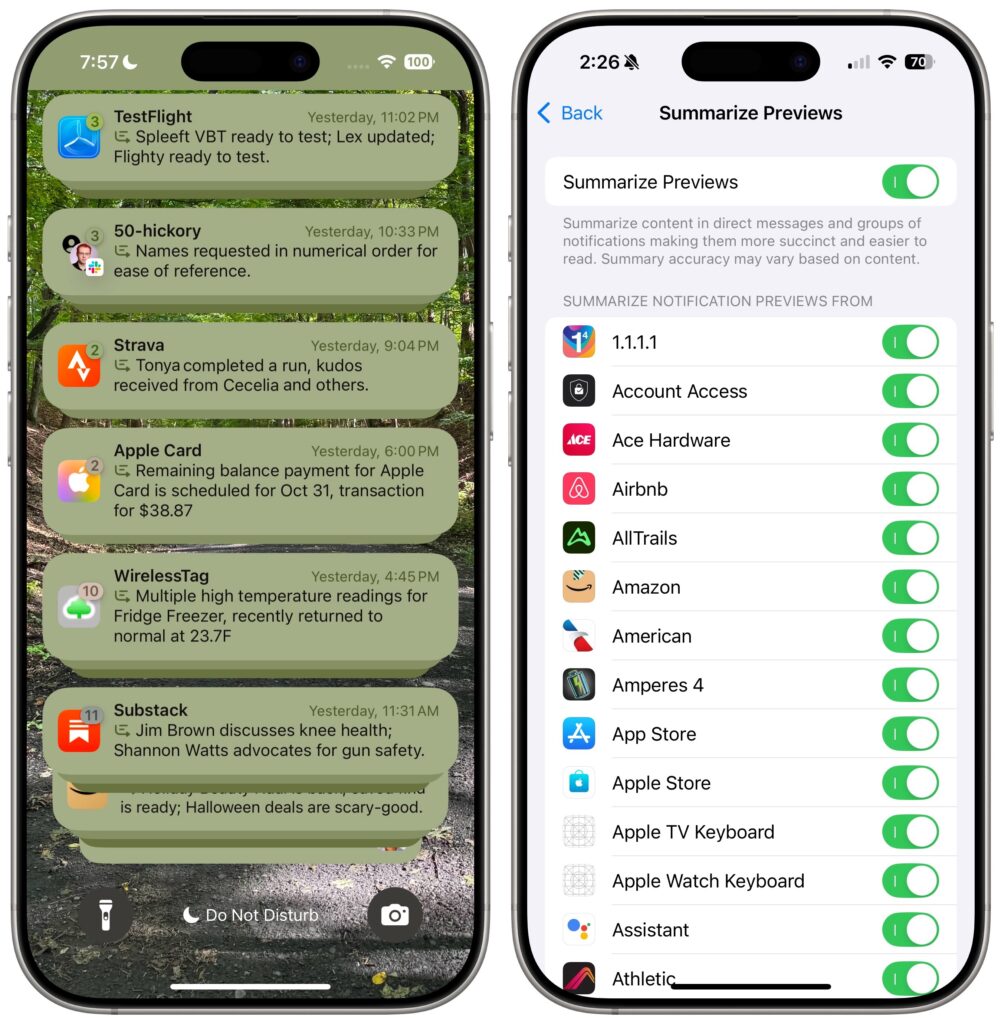
Apple has long been sensitive about how distracting our devices can be due to numerous apps posting notifications throughout the day. Apple Intelligence tries to help by summarizing lengthy individual notifications and groups of notifications. Notification summaries probably won’t rock your world, but it can be nice to have a sense of what’s going on with a group of notifications before you wade into an involved conversation. If you don’t like the summaries for particular apps, turn them off in Settings > Notifications > Summarize Previews.
Mail (and Messages) Enhancements
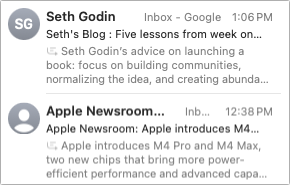
Speaking of summaries, in Mail, the most welcome Apple Intelligence change is to replace each first-line snippet in message lists with summaries of the message or conversation content. It makes scanning email for important messages easier.
Other Apple Intelligence changes include moving priority messages—those that require a quick reply—to the top of the message list and the option to summarize long messages or conversations using a Summarize button at the top of the message pane. Both Mail and Messages also offer a Smart Reply feature that suggests reasonable replies. They’re like tapback responses on steroids.
Audio Recording, Transcription, and Summarization
Apple Intelligence offers major advances for the Notes and Phone apps: audio recording, transcription, and summarization. Be aware that the Phone app alerts participants when you start recording—just joke, “For quality assurance…” before tapping the record button.
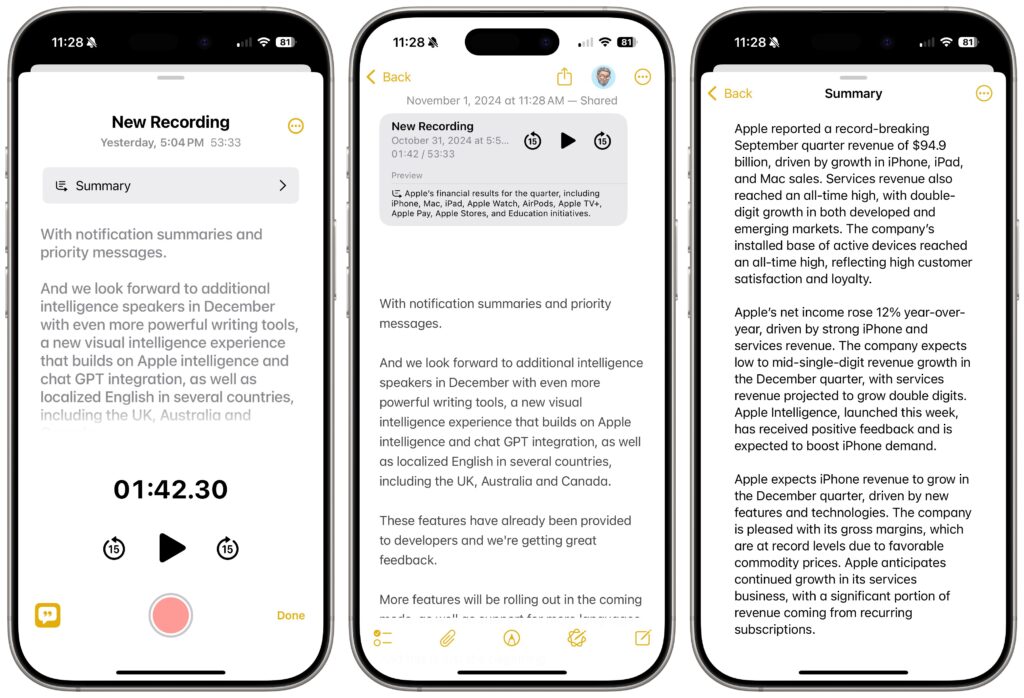
The big win comes with Notes (on the iPhone, iPad, and Mac), which can record a meeting and provide a transcript for later searching and summarization. The clearer the audio, the better. It stumbles on many names and doesn’t differentiate between speakers, but transcripts can be hugely helpful. You can keep a transcript in its recording (left), where you can jump around in the audio by tapping the associated text, or you can use the ••• button to export it to its enclosing note (middle) or tap a button to get a summary (right).
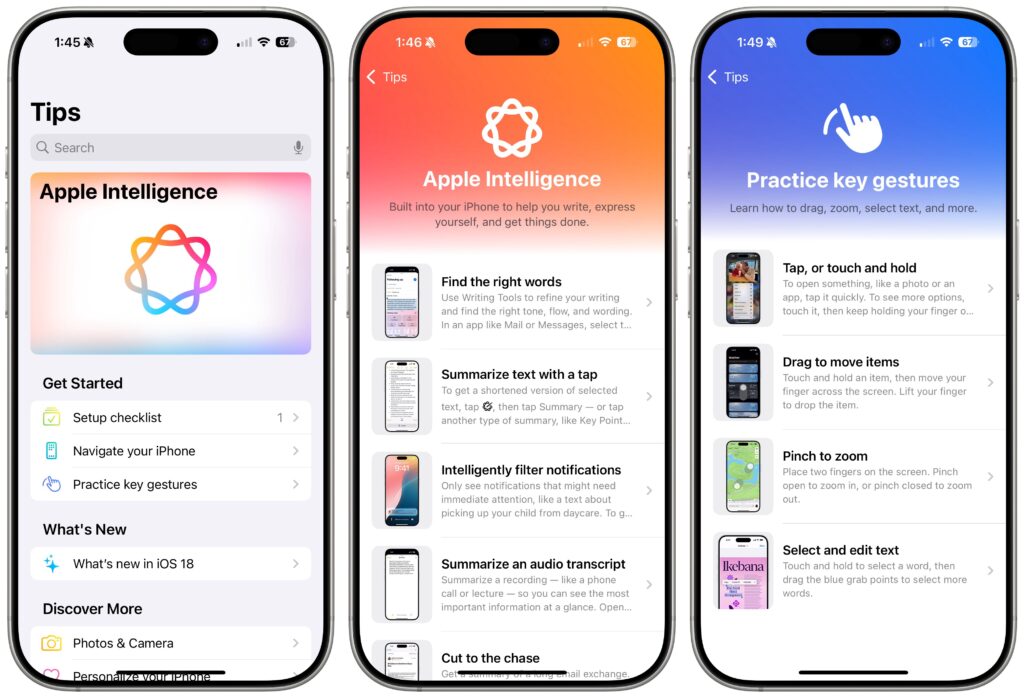
Siri Enhancements
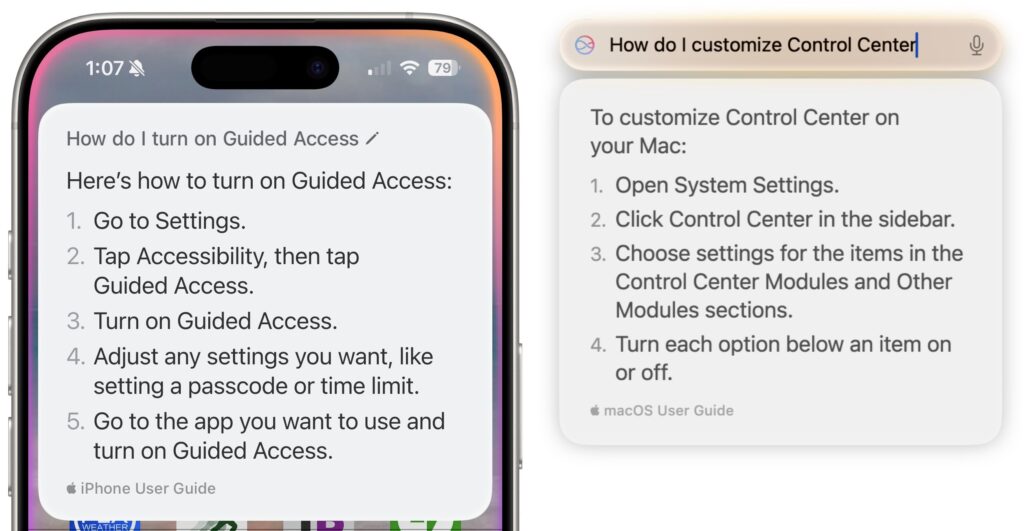
Apple has promised a lot for Siri but hasn’t delivered much. A new interface replaces the animated circle with a glowing light and the option to type your query rather than speak it. However, the only functional improvement from Apple Intelligence so far seems to be Siri’s awareness of the iPhone, iPad, and Mac user guides. If you’re unsure how to accomplish a built-in task, try asking Siri.
What’s Coming Next
Welcome though they may be, the initial wave of Apple Intelligence features won’t set the world on fire. But Apple has big plans for Apple Intelligence, with new features slated for release in December 2024 and more coming in 2025. Things you can look forward to in a few months include:
- ChatGPT will make its promised appearance, bringing world knowledge into Writing Tools and Siri.
- You can jazz up your conversations in Messages with original Genomoji merely by describing the emoji you’d like to see. “Penguin on a surfboard,” anyone?
- The Image Playground feature will let you generate original images in various styles, though none are photorealistic on purpose—no deepfakes from Apple.
- Image Wand will enhance your Apple Pencil sketches by turning them into polished images, and if you circle an empty space, Image Wand will create an image from the surrounding area.
- Writing Tools will let you describe a specific change you want to apply to your text, like adding more descriptive words to a blog post. We hope Apple puts more thought into the workflow so it’s easier to compare the before and after.
- The Camera Control button on the iPhone 16 line will tap Apple Intelligence to help users learn about objects and places in the iPhone’s viewfinder.
Further out, Apple says that Priority Notifications will surface your most important notifications, and Siri will learn how to draw from your personal context, take action in numerous apps, and gain awareness of onscreen information. We’re still curious to see how Apple will integrate a more intelligent Siri into the HomePod and Apple TV.
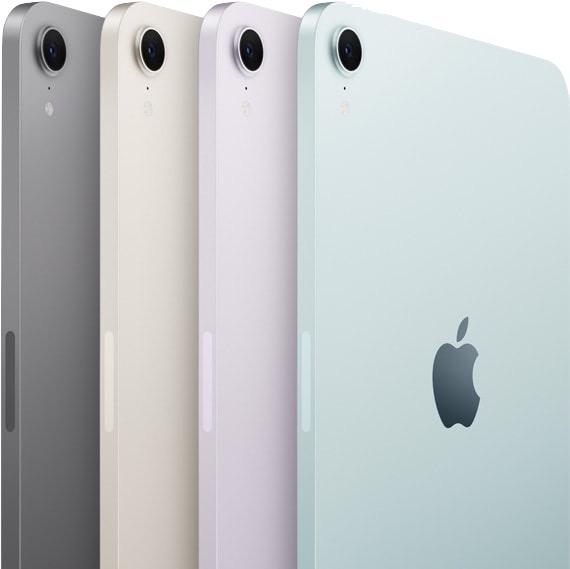
(Featured image by Apple)