by Adam Engst
Many Mac users don’t realize just how customizable their Macs are, and a part of the Mac interface that’s simultaneously among the most useful and the most overlooked is the toolbar that appears in every Finder window.
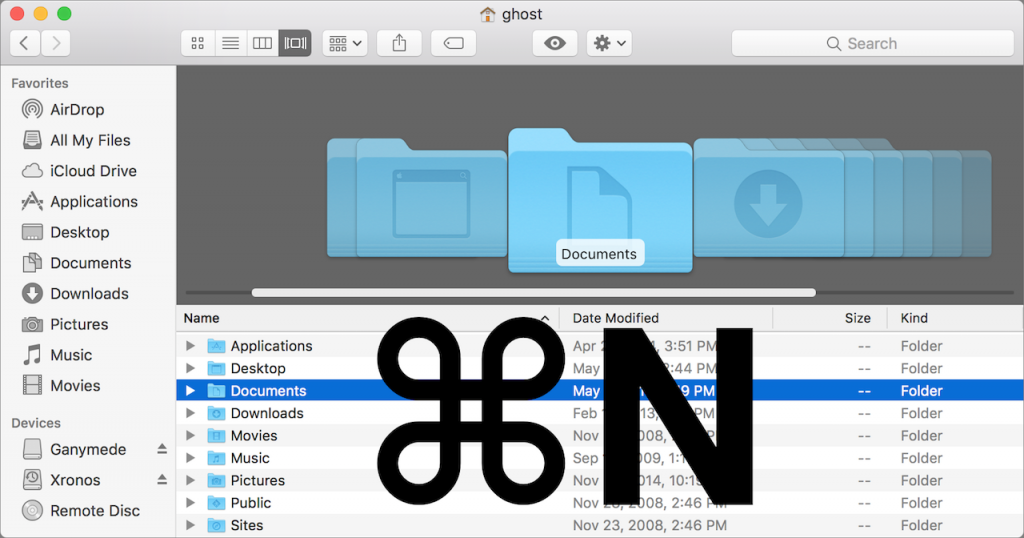
By default, the toolbar contains buttons for navigating back and forth, changing the view, arranging the files in the window, performing a variety of actions, sharing the selected file, working with tags, and searching. There’s nothing wrong with these controls, and you may even use them regularly.

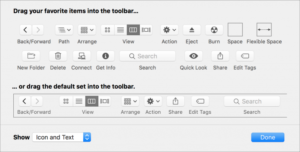
But those defaults are just the tip of the iceberg. Choose View > Customize Toolbar and a dialog appears with a slew of additional controls that you can drag to the toolbar, after which they appear in every Finder window. None of these controls are unique—they’re all available from Finder menus and via keyboard shortcuts—but it’s often easier to click a button that’s front and center in a Finder window rather than hunting through menus or trying to remember a key combo.

The most useful toolbar controls include:
- Arrange: The choices in this menu let you group files and folders by different criteria, such as file kind, what app owns each file, or the date each file was modified. It’s great when you’re working in a folder with a lot of similar files.
- Action: This menu duplicates many of the options in the Finder’s File menu but can be easier to access.
- Space/Flexible Space: Drag Space to the toolbar to separate controls by a fixed amount so you can group related items. Flexible Space works similarly, except it can expand or contract to match the window width.
- New Folder: Click it and you get a new folder. Handy, if unsurprising.
- Delete: Equally unsurprising is the Delete button, which moves selected files and folders to the Trash when you click it.
- Search: Enter some text here to search for it within your files (or choose the “Name matches” item that pops down from the Search field to search for it in just filenames). You can set the default search to be the entire Mac or just the current folder in Finder > Preferences > Advanced.
- Share: When you want to share a file with someone else, look here for sharing extensions for AirDrop, Mail, Messages, and more. You can also import files into some apps, like Notes, using the Share menu.
- Edit/Add Tags: If you rely on Finder tags to group and find related files, this menu makes it easy to add and edit tags for selected files and folders.
Don’t miss the Show pop-up menu, which lets you customize your toolbar to show icons with names, just icons, or only text.
What if you want to get rid of a toolbar button? Just drag it off the toolbar while the Customize Toolbar dialog is open.
But that’s not all! While the Customize Toolbar dialog is open, you can drag buttons around on the toolbar to rearrange them. Even better, you can drag any app, document, or folder into the toolbar (from another Finder window) to add it. It’s a great place to put that spreadsheet you open every day or the utility app you use to upload a weekly report. You can even drop a file on an app in the toolbar to open the document in that app.

To modify the toolbar quickly without opening the Customize Toolbar dialog, just hold down the Command key. With that key down, you can move items around on the toolbar, drag unnecessary items off, and drag new files on.
No matter what you do on your Mac, taking a few minutes to customize the toolbar with controls you’ll use and your primary apps and documents will make using the Mac faster and easier every day. Give it a try!


