Apple Releases Four iPhone 12 Models and the HomePod mini
For the second time in less than a month, Apple has made a splashy announcement. In its “Hi, Speed” event, the company unveiled a new lineup of four iPhone 12 models along with the new HomePod mini.
HomePod mini
Just as Apple did in its event, let’s get the HomePod mini out of the way first. The HomePod mini is easy to explain—it’s just a smaller, cheaper HomePod. For $99, you get a flat-topped sphere that’s about half the height and two-thirds the width of the HomePod, which currently lists for $299. It works just like a HomePod, accepting commands via Siri and integrating tightly with the rest of your Apple and HomeKit devices. You can even combine two HomePod minis into a stereo pair, though you can’t combine a HomePod and a HomePod mini in this way.
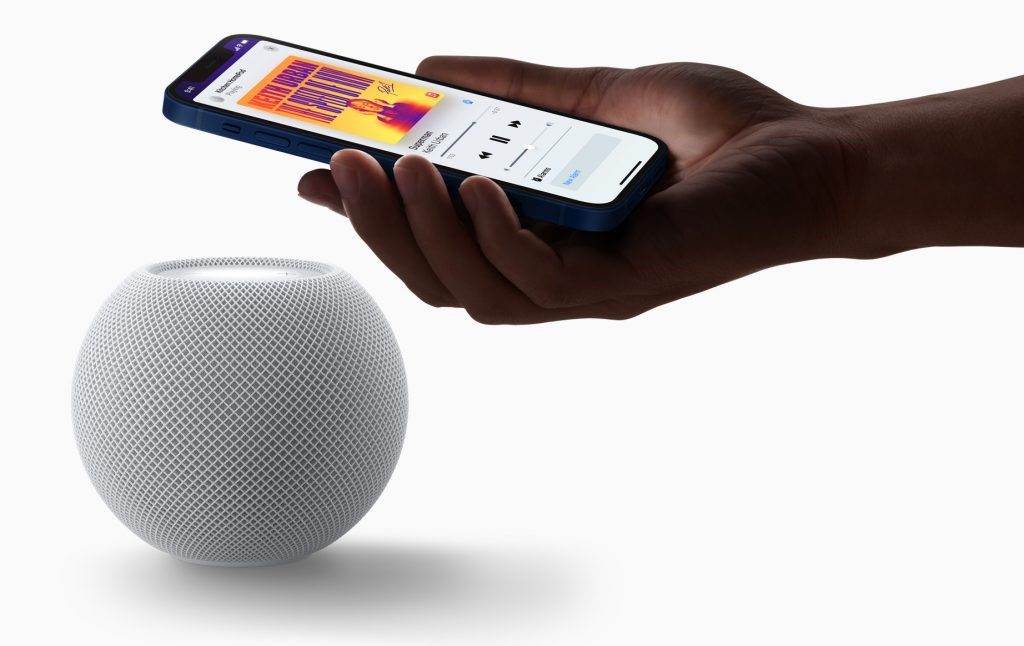
The only technical advantage the HomePod mini has over the HomePod is Apple’s U1 chip. Apple promises that, later this year, the U1 chip will improve the handoff experience when transferring audio playback to or from an iPhone by holding it near the HomePod mini. Otherwise, as you might imagine, the larger HomePod has better sound thanks to its additional speaker hardware and spatial awareness capabilities.
Apple is also introducing an Intercom feature that makes it easy for family members to send voice messages from any HomePod to another. Intercom also works with the iPhone, iPad, Apple Watch, AirPods, and even vehicles equipped with CarPlay.

It may not be world-changing, but we’re bullish on the HomePod mini thanks to its lower price. It will be available for pre-order on November 6th, with delivery and general availability starting the week of November 16th.
iPhone 12
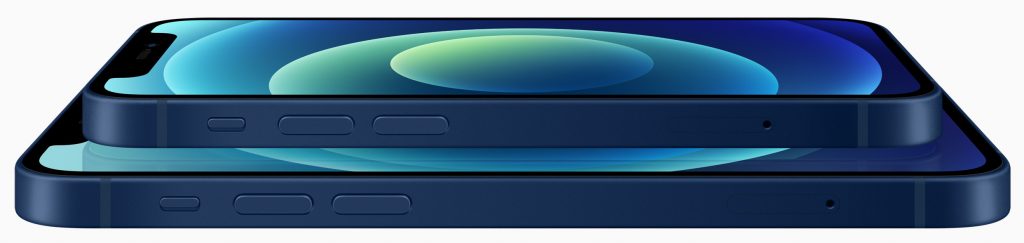
Given how important the iPhone is to Apple’s business, it’s not surprising to see the company pulling out all the stops with the iPhone 12 lineup, split between the iPhone 12 and the iPhone 12 Pro. It includes four different models, incorporates support for the emerging 5G cellular networking standard, introduces the MagSafe wireless charging and accessory ecosystem, and delivers the most advanced camera systems ever. And all that comes in a flat-edged industrial design, last seen in the first-generation iPhone SE, that many people thought prevented accidental drops. (If you do drop an iPhone 12, its new Ceramic Shield front glass promises that cracks will be up to four times less likely.)
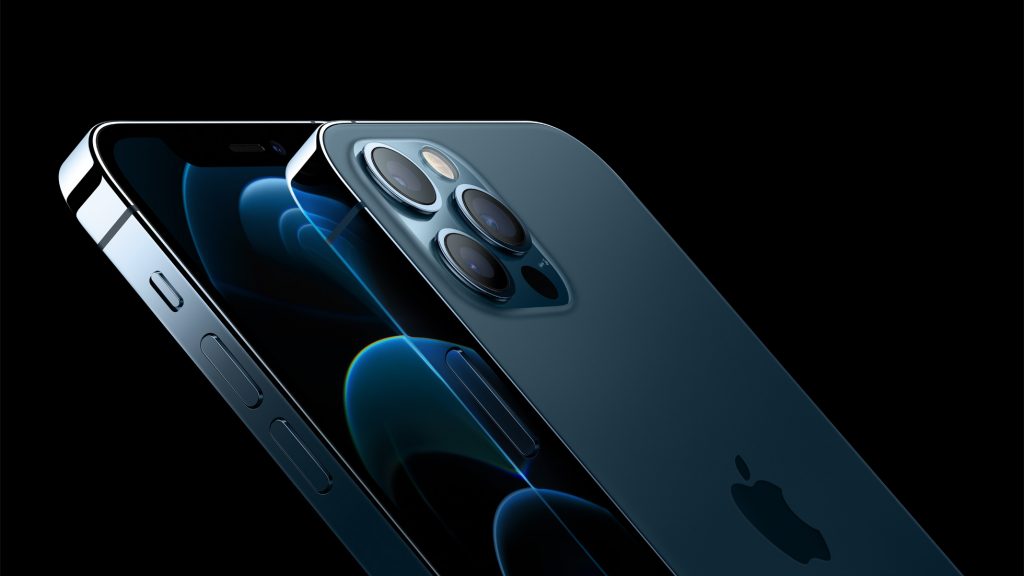
For those with smaller hands and pockets, the biggest news may be the iPhone 12 mini, with a 5.4-inch diagonal screen. It’s the smallest iPhone we’ve seen in years, measuring in at just a bit bigger than that first-generation iPhone SE. It’s joined by the larger iPhone 12 with a 6.1-inch screen, the similarly sized iPhone 12 Pro, and the iPhone 12 Pro Max, which boasts a 6.7-inch screen. Speaking of the screens, the Super Retina XDR OLED screens are gorgeous, and they all incorporate a notch for the Face ID cameras. Alas, there’s no Touch ID, which would have been nice while we’re all wearing masks in public.
Apart from the size differences, camera systems, storage options, and battery life, the four iPhone 12 models have very similar specs (battery life will be fine for all of them, but the larger the phone, the longer the battery life).
They all support 5G cellular networking, which promises significantly faster speeds than today’s LTE. However, what counts as “5G” varies between cellular carriers, coverage is weak in many parts of the world, and the real-world performance may be significantly less than promised. That’s not to say that 5G is bad, just that it may not make any difference to you in the near future. Further out, it will likely be a big deal, so it’s good that the iPhone 12 is hopping on the bandwagon.
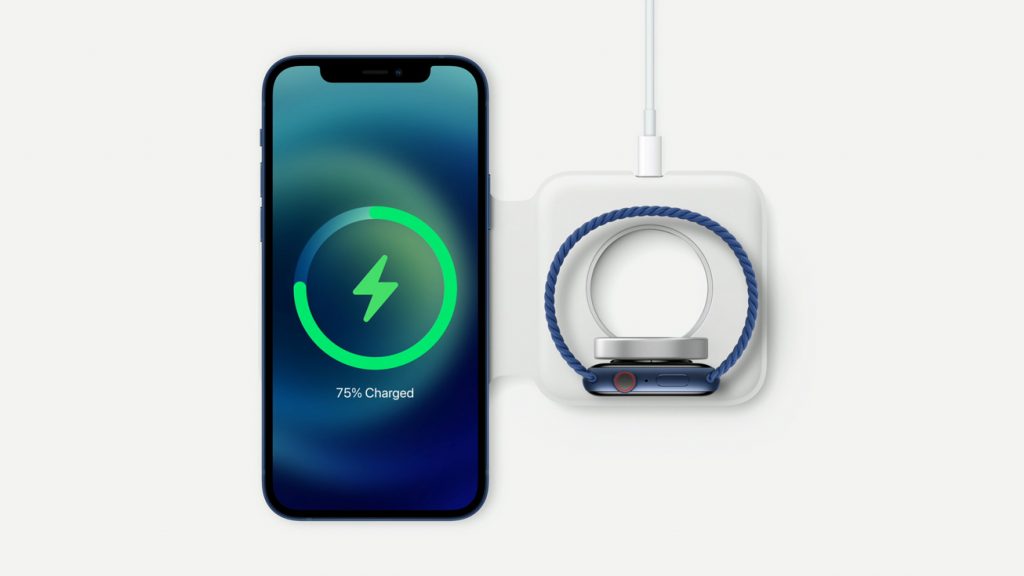
Another innovation is MagSafe, a circular magnetic coupling and wireless charging technology built into the back of each iPhone 12 model. A $39 Apple MagSafe Charger snaps on to the back for wireless charging at 15 watts, and Qi wireless charging is still supported as well, at up to 7.5 watts. MagSafe also enables an entire ecosystem of accessories, including chargers, cases, car mounts, and wallets. Apple even briefly showed a charger that could charge both a MagSafe iPhone and an Apple Watch. You can still charge with a Lightning-to-USB cable, but Apple no longer includes a charger and EarPods in the box, given that we all have so many of them around.
Regardless of which iPhone 12 model you pick, you won’t be making any performance tradeoffs. That’s because they all rely on Apple’s newest chip, the A14 Bionic, for the utmost in performance and the most advanced computational photography.
The camera systems are what separate the iPhone 12 Pro models. The iPhone 12 and iPhone 12 mini have a dual 12-megapixel rear camera system with ultra wide and wide cameras with 2x optical zoom. They have optical image stabilization and support Night mode and Deep Fusion, which provide better photos in low-light situations. They offer 1080p and 4K video recording at up to 60 frames per second and introduce HDR video recording with Dolby Vision at up to 30 fps, which provides higher quality video in challenging lighting.
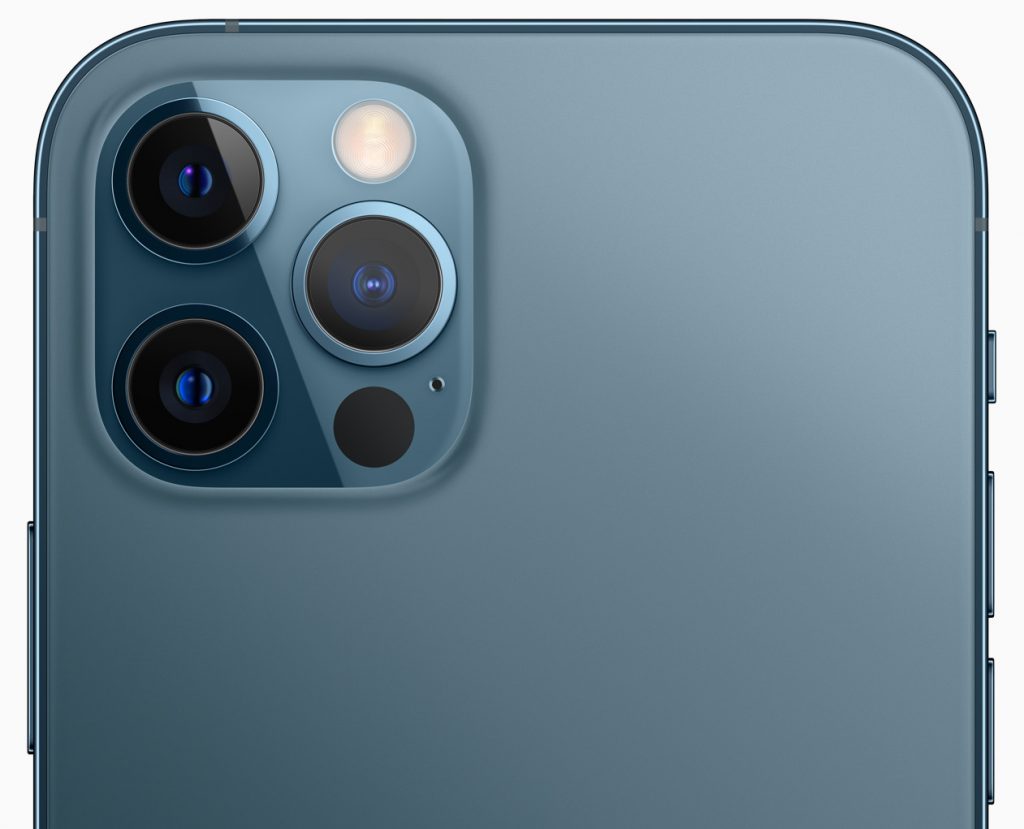 That sounds impressive enough, but the iPhone 12 Pro models go further. Their triple 12-megapixel camera system has ultra wide, wide, and telephoto cameras that provide better optical zoom among much else. A new LiDAR Scanner gives them faster autofocus in low light and Night mode portraits. They also support a new Apple ProRAW format that provides professional photographers with the benefits of Apple’s computational photography combined with the flexibility of a raw image format. In terms of video, the Pro models enhance HDR video with Dolby Vision to 60 fps. Finally, the iPhone 12 Pro Max also features something Apple calls “sensor-shift optical image stabilization” for both photos and video—it promises better optical image stabilization than the iPhone 12 Pro.
If you’re a pro photographer or videographer who’s already invested in the iPhone as a working camera, the iPhone 12 Pro models will provide the ultimate in camera capabilities. For others who are curious about how these new iPhones stack up against previous models, the photography sites will undoubtedly be publishing head-to-head comparison shots soon.
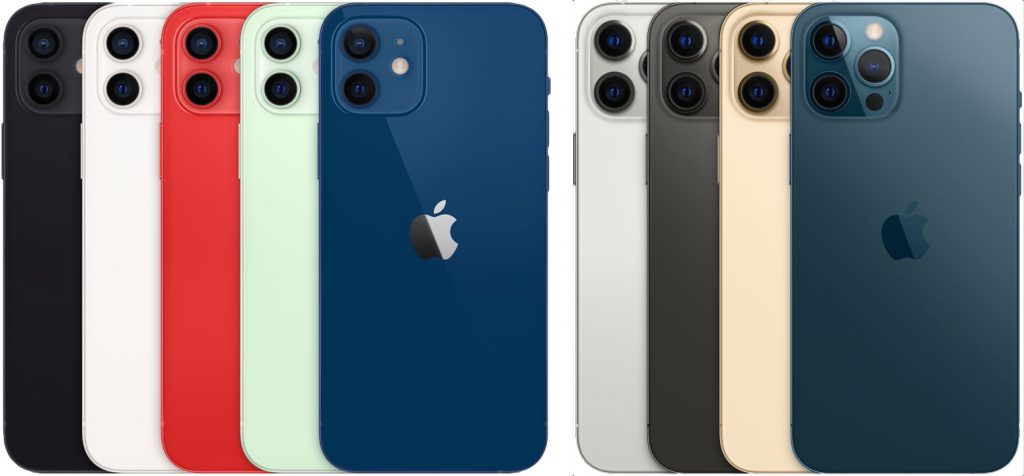
When can you get your hands on one of these iPhone 12 models, and for how much? You can pre-order the iPhone 12 and iPhone 12 Pro starting at 5 AM Pacific on October 16th, with delivery and in-store availability beginning on October 23rd. They come in five colors: black, white, Product(RED), green, and blue. In contrast, the iPhone 12 mini and iPhone 12 Pro Max will be available for pre-order at 5 AM Pacific on November 6th, with delivery and in-store availability on November 13th. Their colors include silver, graphite, gold, and blue.
Here’s how the costs break down by storage level:
- iPhone 12 mini: $699/$729 (64 GB), $749/$779 (128 GB), $849/$879 (256 GB)
- iPhone 12: $799/$829 (64 GB), $849/$879 (128 GB), $949/$979 (256 GB)
- iPhone 12 Pro: $999 (128 GB), $1099 (256 GB), $1299 (512 GB)
- iPhone 12 Pro Max: $1099 (128 GB), $1199 (256 GB), $1399 (512 GB)
There are two prices for each storage level of the iPhone 12 mini and iPhone 12 because AT&T and Verizon customers pay $30 less than everyone else. Apple hasn’t said why.
In the end, Apple has once again released new iPhones that advance the state of the art. The diminutive iPhone 12 mini is particularly welcome for smaller people, and the iPhone 12 Pro Max boasts the most capable camera systems available on any smartphone.
(Featured image by Apple)