The Top Features You’ll Want to Try in iOS 11
Even if you’re not buying a new iPhone this year, you can still enjoy a hefty dose of “New and Improved!” with Apple’s iOS 11, which provides a host of new capabilities. Hold on tight, there’s a lot to cover.
Getting Started
After you install iOS 11, you’ll notice a few things right off. Dock icons no longer have names, and many Apple apps now have the bold text design Apple brought to the Music and News apps in iOS 10.
Although the new Automatic Setup feature won’t help you today, when you next get a new iOS device, it can transfer many settings from an older iOS 11 device automatically. Similarly, the new Share Your Wi-Fi feature lets you send your Wi-Fi network’s password to another iOS 11 device that tries to connect.
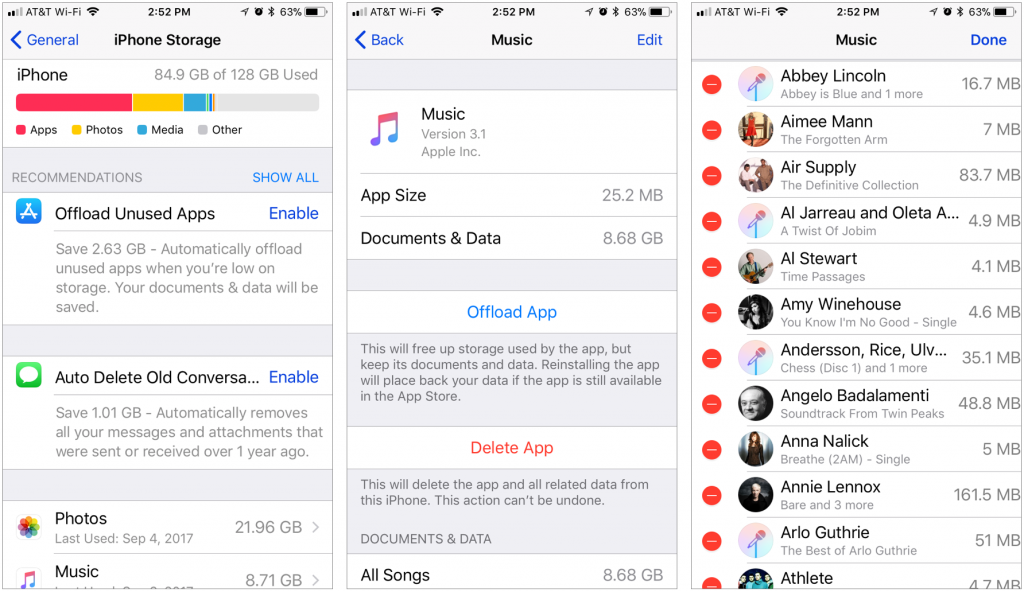
You may not need a new iPhone or iPad anyway, since iOS 11 can help you recover precious space. Choose Settings > General > iPhone/iPad Storage and you can offload unused apps (while keeping their settings and data), delete old Messages conversations automatically, and see how much space each app consumes. Deleting music from the Music sub-screen (tap Edit) will help too.
Special Screens
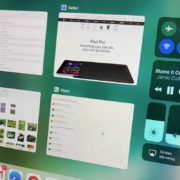
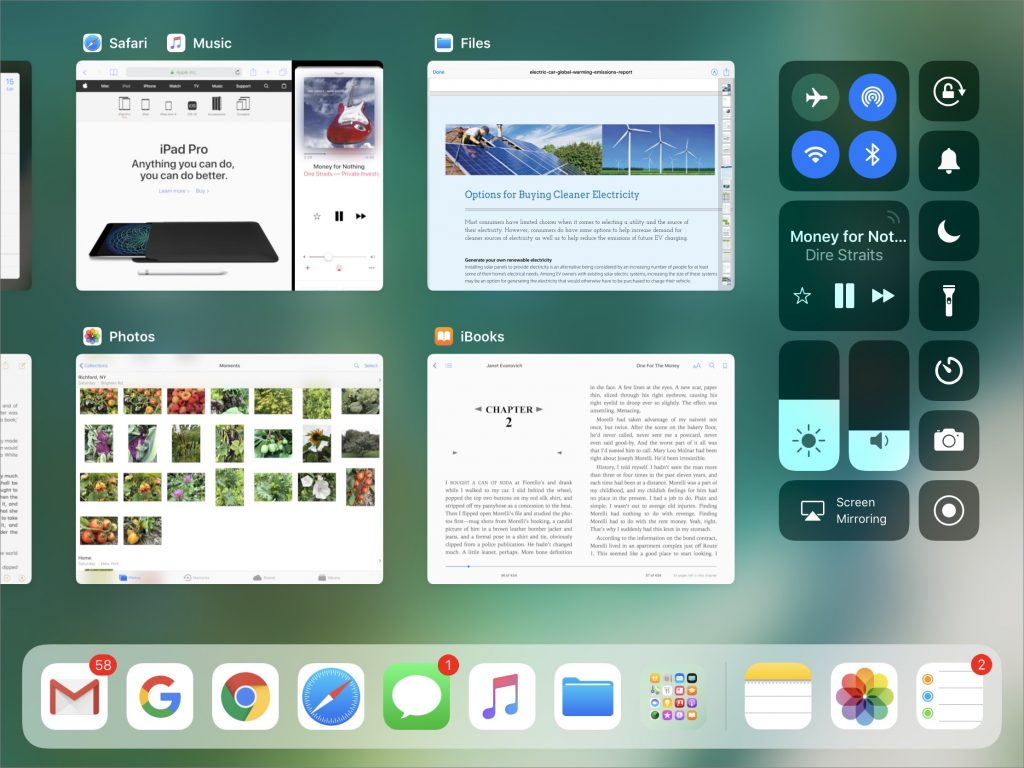
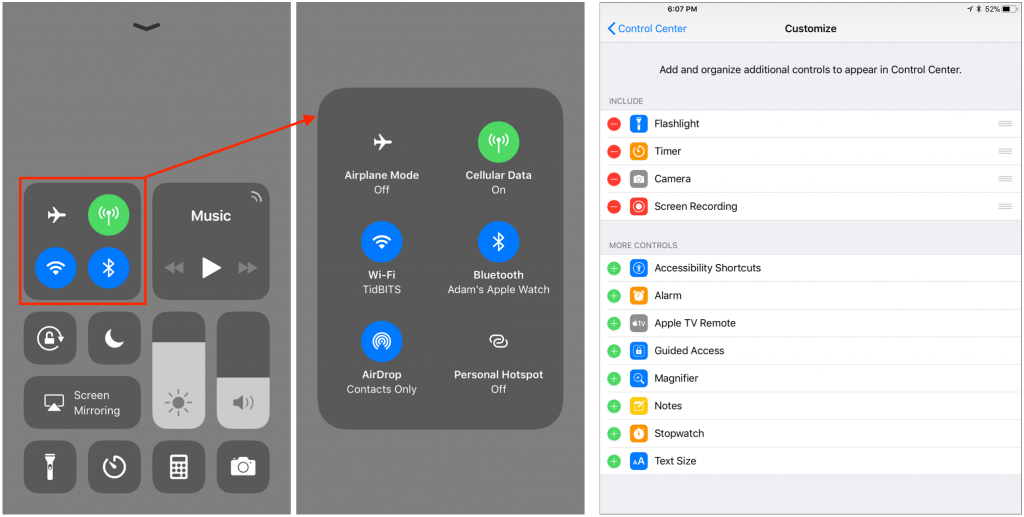
Apple redesigned Control Center, which most people still get to by swiping up from the bottom of the screen (iPad users keep swiping up after the Dock appears, and iPhone X users will have to swipe down from the right-hand top of the screen). It’s back to a single page of icons, and you can access additional options by pressing and holding on any set of controls. Even better, you can add (and remove) controls in Settings > Control Center > Customize Controls.
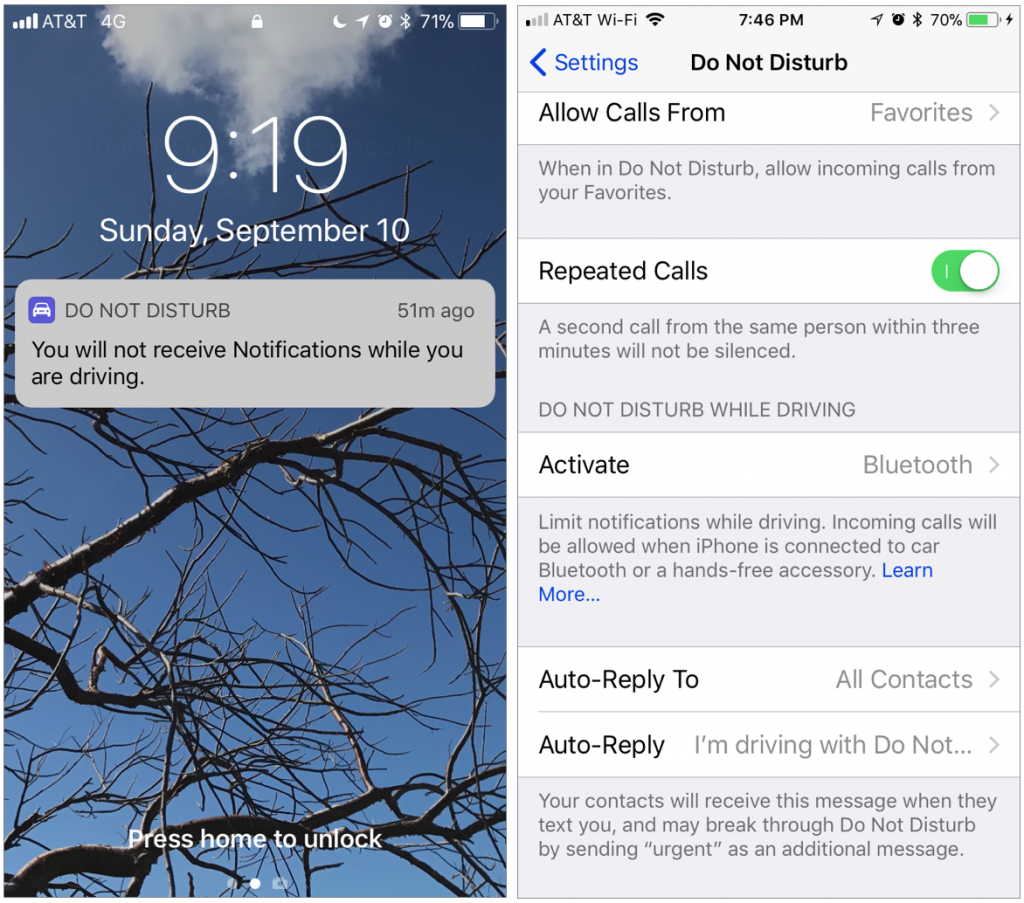
The Lock screen is all you’ll see while in the car by default now, thanks to the Do Not Disturb While Driving feature. It blocks notifications and prevents you from using your iPhone while at the wheel, all while auto-replying to people who text you. Calls still come through to your car’s Bluetooth system, and texts from people designated as favorites can break through the texting cone of silence. Passengers can disable Do Not Disturb While Driving easily from a notification on the Lock screen.
Smaller Changes and App Updates
A few smaller changes that you’ll appreciate include:
- Siri sounds more natural, can do translations, and uses on-device learning to understand you better and provide more useful results.
- On an iPhone, a new Emergency SOS feature will call 911 and notify your emergency contacts of your location after you press the Sleep/Wake button five times quickly and swipe the Emergency SOS button. Tap Settings > Emergency SOS to set this up.
- The password auto-fill feature now suggests stored login information for many apps right from the QuickType bar above the keyboard—manage this in Settings > Accounts & Passwords > App & Website Passwords.
Many of iOS 11’s built-in apps receive significant changes as well:
- Camera: New file formats will make your videos and photos take up less space. There are a few new filters, and Camera can finally scan QR codes, which simplify loading Web sites, getting contact info, and connecting to Wi-Fi networks.
- Photos: You can now edit the video in a Live Photo and apply looping, bouncing, and long exposure effects. Photos can at long last play animated GIFs and has a new Animated smart album to hold them.
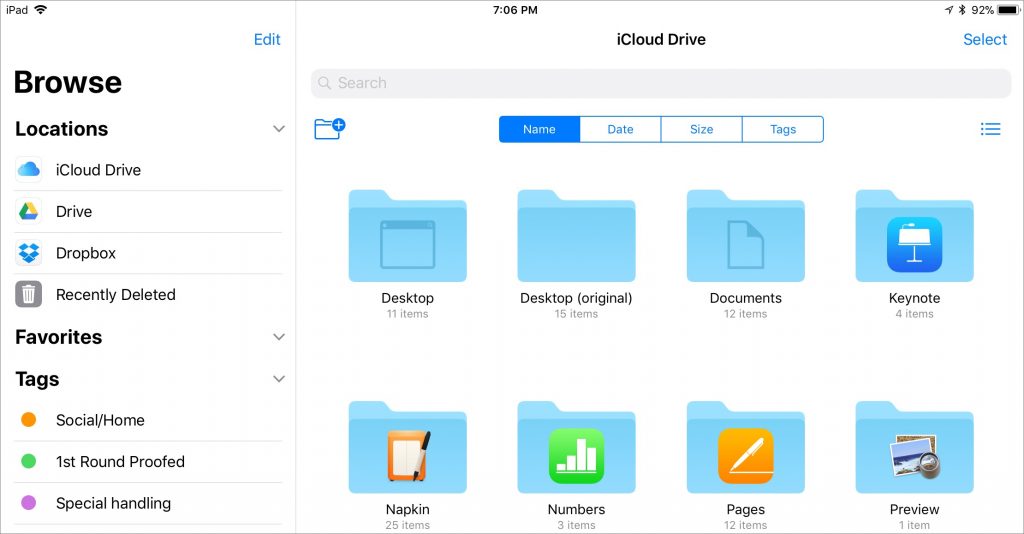
- Files: This major new app replaces the iCloud Drive app. Look in Files for access not just to iCloud Drive, but also to files on your device and in other cloud sharing services like Dropbox and Google Drive.
- Messages: A new app drawer at the bottom of the screen tries to entice you to use iMessage apps. Most are just stickers, but some are useful and Apple provides a new Apple Pay app here that lets you make person-to-person payments.
- Maps: Apple has added indoor maps of some airports and malls to Maps. Maps also now provides lane guidance on more complicated roads.
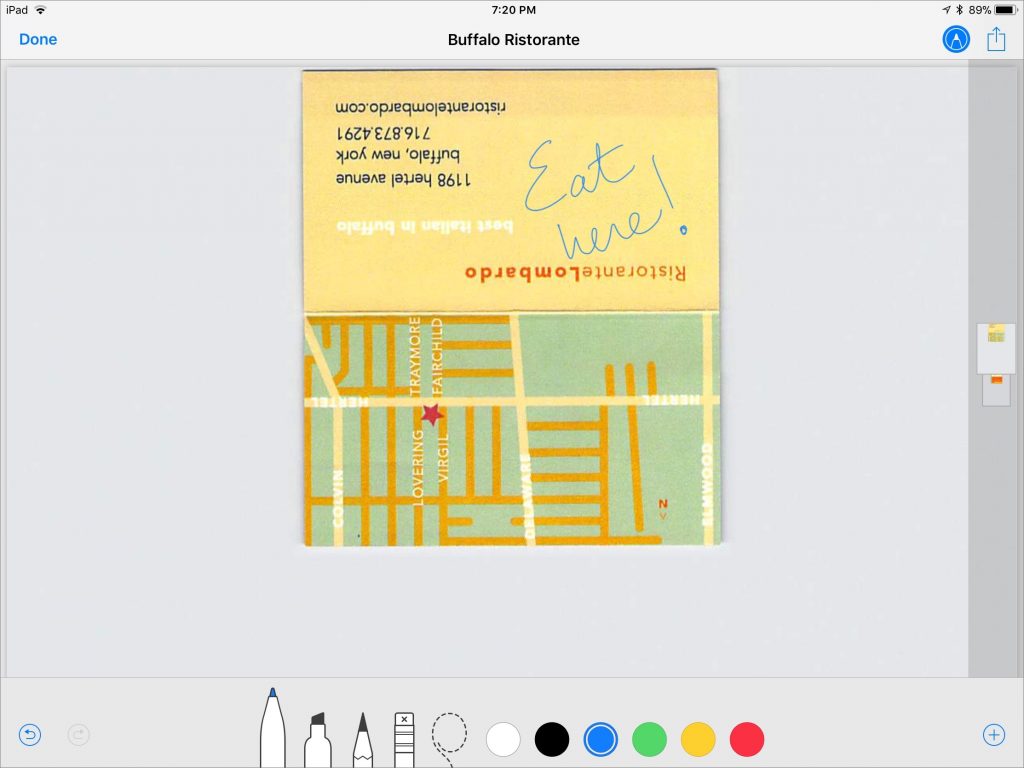
- Notes: The new Instant Notes feature make starting a note as simple as tapping the Lock screen of an iPad Pro with an Apple Pencil, or the optional Notes button in Control Center. A note can now look like lined paper or graph paper (tap the Share button, then tap Lines & Grids). You can also now scan a document. The idea is that you then sign it with the Apple Pencil and send it on its way. Notes can also now find text in Apple Pencil handwriting.
Take some time to explore—we’re liking these new features and we think you will too! It’s likely safe to upgrade to iOS 11 now, but check our upgrade advice first.