It’s easy to find and open the Mac’s standard menus—all you do is click a word or icon. But did you know about the Mac’s hidden menus? They contain many useful commands, but the Mac’s user interface provides no clue to their existence. Here’s what you need to know.
What’s in a Name?
These menus go by a few different names. Long-time geeks call them contextual menus, but nowadays Apple prefers to call them secondary menus or shortcut menus. We’ll call them shortcut menus here because they generally provide shortcuts to commands that are also available elsewhere.
Can I Just Click?
 Sorry, no. You have to invoke these shortcut menus in a special way. The most foolproof method is via a Control-click—hold down the Control key on your keyboard while you click the correct spot. Try it by Control-clicking an icon in the Finder.
Before the Mighty Mouse appeared in 2005, all Apple mice had just one button, so the Control-click technique was the only way to go. Since 2005, however, all Apple mice have provided multiple buttons, and since then, you’ve also been able to right-click to invoke a shortcut menu. Windows users who switch to the Mac are particularly accustomed to right-clicking, since Windows relies on it heavily. To right-click, click the target spot with the right-hand button on your mouse, or click the equivalent area on your trackpad.
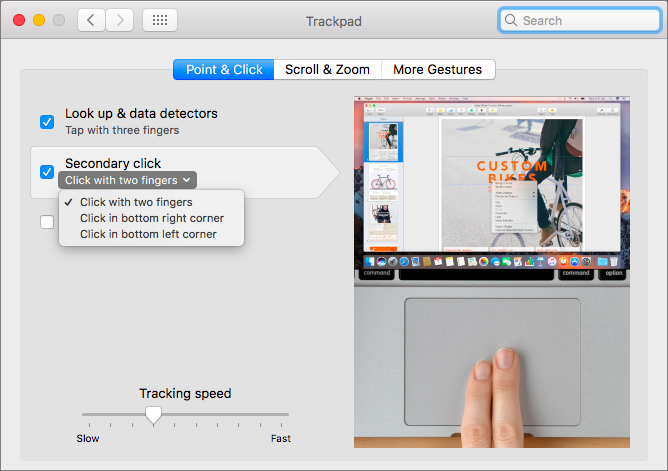
If that doesn’t work, open System Preferences > Mouse/Trackpad > Point & Click and make sure the “Secondary click” checkbox is selected. Also, note whether “Click in bottom right corner” or “Click in bottom left corner” (or similar) is selected. (When changing the settings for a non-Apple mouse or trackpad, you may see different options or need to use software that came with the device.)
Right-clicking is great, but trackpad users can avail themselves of another technique, the two-finger click. If “Click with two fingers” is selected in the Trackpad preference pane, you can invoke a shortcut menu with a two-fingered click anywhere on your trackpad. We prefer this two-finger-click method because, with either click-in-a-corner method, we sometimes click in the corner when we want a regular click, not a menu.
What Can Shortcut Menus Do, and Where Do I Find Them?
We already mentioned the shortcut menu that comes up from a Finder icon. Most of its commands also appear in the Finder’s File menu, but the shortcut menu saves you a trip across the screen. A few favorites from that menu are:
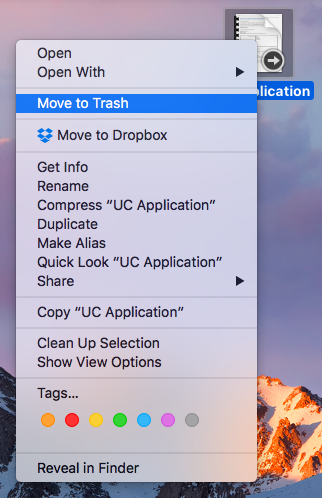
- Say you want to trash a file on your Desktop. You could drag the file to the Trash icon on the Dock, of course, but that can be a lot of mousing on a large screen! It’s easier to Control-click the file’s icon and choose Move to Trash from the shortcut menu.
- Another command on this shortcut menu, Open With, is perfect for opening a file in an application other than the default app. That’s handy if you want to open a text file in Pages instead of TextEdit.
- There’s also a Share command that lets you quickly add a photo to your Photos library, post it to Facebook, and more.
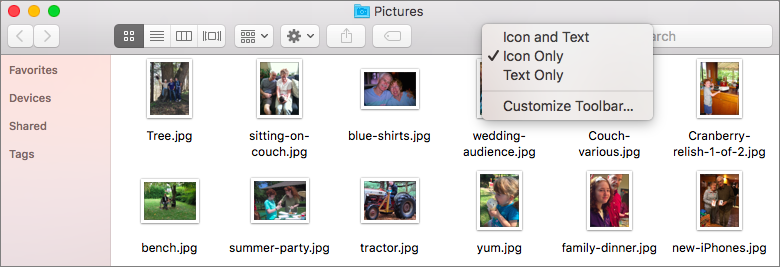
Shortcut menus abound in the Finder: Control-click the toolbar of a Finder window to get commands for customizing it. Control-click a sidebar item in a Finder window to get info about it or remove it, among other possibilities. For a Finder window in List view, you can add and remove columns by Control-clicking the column header bar. And of course, you can Control-click icons in the Dock.
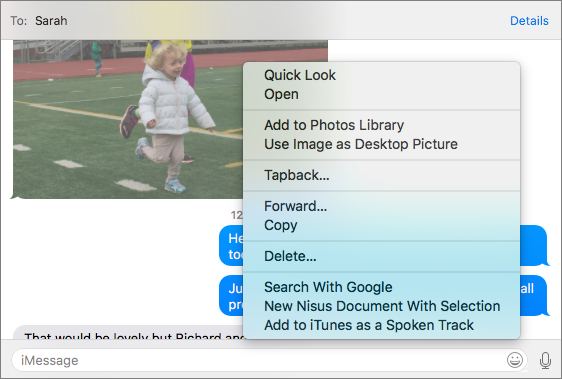
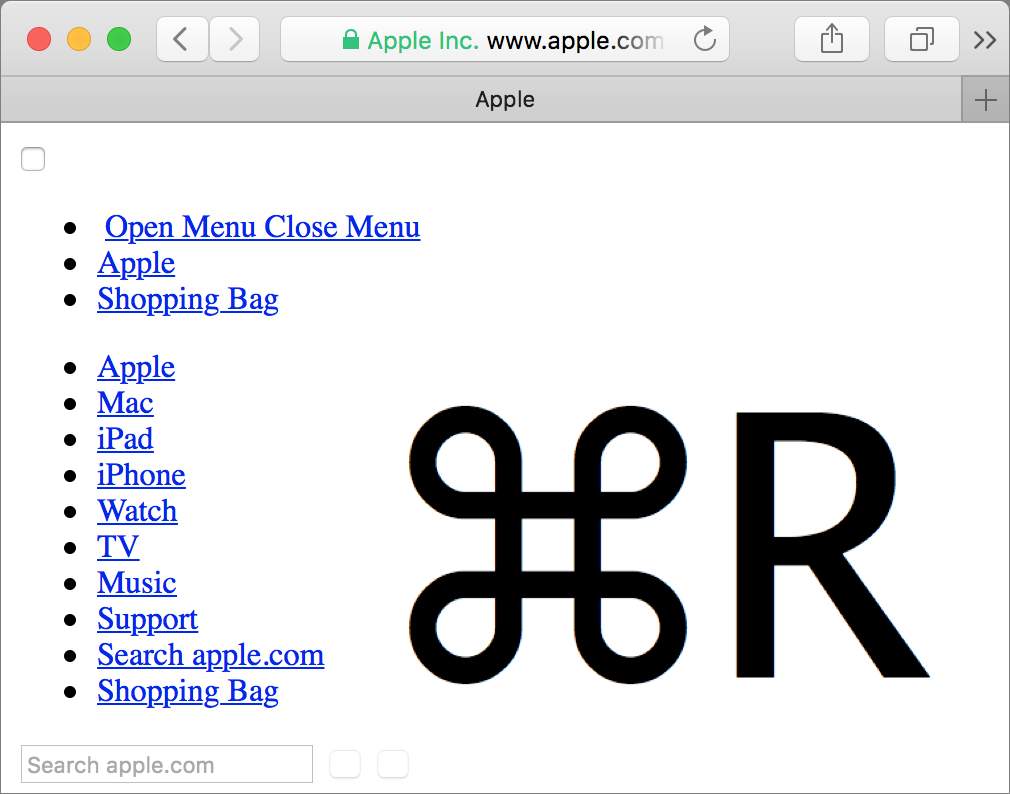
Most apps also offer shortcut menus, but the hard part is finding them. The trick is to Control-click any object or interface control you could conceivably customize or work on in some other way. To see what we’re talking about, Control-click a photo you’ve received in Messages, a message summary in Mail, or a graphic in Safari. Those examples are just the tip of the iceberg—try Control-clicking words, graphics, songs, icons, toolbars, sidebars, you name it!