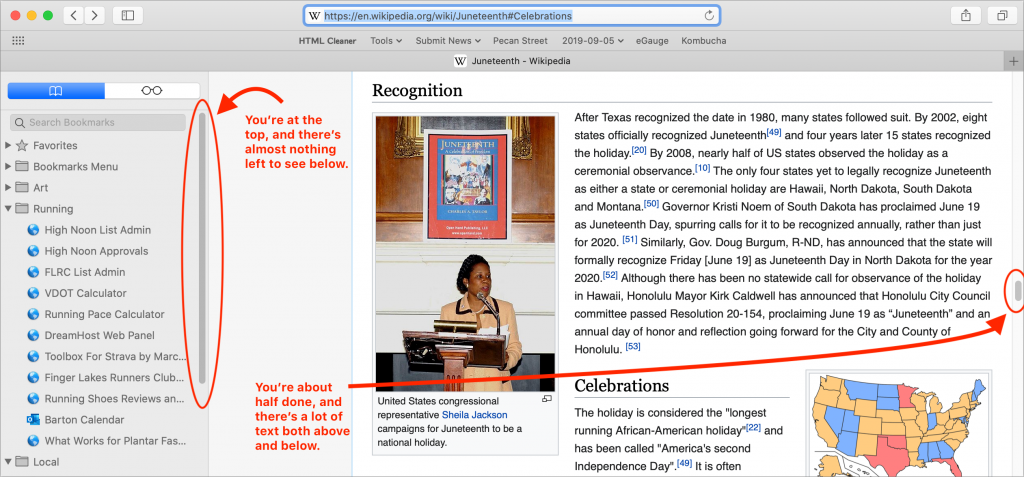
The pandemic has forced large numbers of those who are still employed—nearly half the American workforce, by some estimates—to work from home. And while that has actually improved productivity for many people, partly due to eliminating time-consuming commutes, remote work comes with its own challenges. Here are three of the top problems we’ve been helping our clients solve. Get in touch if you’re suffering from these or other tech issues that are preventing you from working as effectively as you would in your office.
Perhaps unsurprisingly, all these issues revolve around connectivity, which can make them difficult to troubleshoot. For the average user, the problem might seem to be video calls dropping out or email not working reliably, when the real culprit is an overloaded AirPort Express Wi-Fi gateway or a too-slow Internet connection.
Weak Wi-Fi
When we set up an office Wi-Fi network, we use commercial-quality gear, map out necessary coverage to avoid dead zones, and spec out the number of access points to support the number of expected devices that will be connecting. Needless to say, home Wi-Fi networks generally lack that attention to detail, and many people rely on the substandard Wi-Fi capabilities built into ISP-provided cable modems.
In the short term, you may be able to fix the problems by restarting your Wi-Fi router, updating its firmware, eliminating interference from a baby monitor or cordless phone, switching to an open Wi-Fi channel, using the 5 GHz frequency instead of 2.4 GHz, or relocating the access point to a more central location.
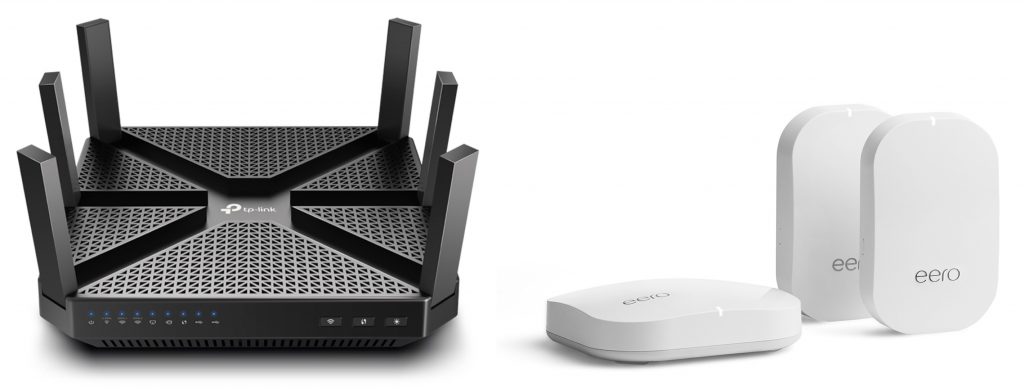
A more comprehensive fix often involves buying new Wi-Fi networking gear that supports the latest and fastest standards and provides broader coverage to more devices. A new Wi-Fi router such as the highly rated TP-Link Archer 7 or Archer 20 might cost $100–$200, or if you need coverage of a larger space, a mesh system like Eero or Netgear’s Orbi lets you add additional “beacons” or “satellites” to extend range without adding Ethernet cable or fussing with complex networking setups.
Slow Internet
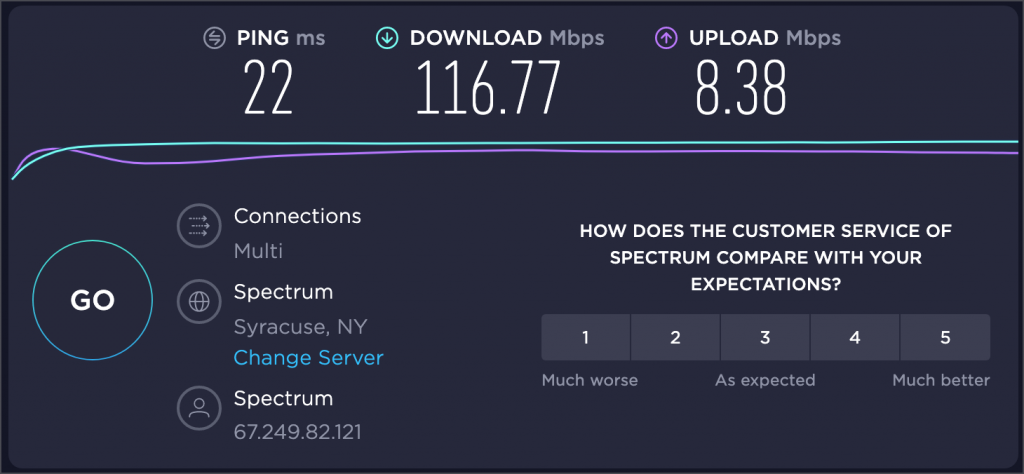
Generally speaking, Wi-Fi networks have a lot more bandwidth than Internet connections—think of them as bigger pipes that can carry a lot more water. So if you’re frustrated by fuzzy video calls or large downloads taking forever, the problem may be with your Internet connection. Whenever you experience such problems, go to speedtest.net and compare your current download and upload speeds against what your ISP has promised.
Some solutions to poor Internet performance are simple. Most important is to make sure nothing else on your network is consuming a lot of bandwidth. For instance, get your kid to stop watching a 4K movie via Netflix when you need to have a Zoom call. The traffic from that movie will fill your pipe, leaving little room for the Zoom call’s data. It can also be worth restarting your cable modem, which may require power cycling it.
Other solutions might involve working with your ISP to check the wiring to your house—a slightly damaged cable can cause sporadic performance problems that are tricky to track down. The ISP can also tell you if your cable or DSL modem is current and working properly, and if not, a replacement might restore full speed. Or you may just have an old modem—ISPs usually wait for you to ask before swapping for a newer, better one.
Of course, all this assumes your Internet plan provides sufficient downstream and upstream bandwidth (the latter of which is necessary for high-quality audio and video calls). You may simply need to spend more money on faster speeds, which in turn may require a new modem or even new cabling.
VPN Connectivity
Generally speaking, we’re fans of virtual private networks (VPNs) because they provide traveling and homebound users secure access to servers and other network resources located behind a properly protected office network. However, with the pandemic forcing so many people to work remotely, some have found VPN access to their office servers to be slow and unreliable.
When the VPN works fine for most people, those who are having trouble can often fix the problems by reinstalling and reconfiguring their VPN software. Never underestimate the utility of a clean start.
For organizations where one person needs much more access to the server than everyone else, sending the server home with that person has helped. For a more general file access solution, others have had good luck trading the server for a cloud-based file sharing service like Box, Dropbox, Google Drive, or Microsoft OneDrive. These services allow multiple members of a workgroup to access the same set of files.
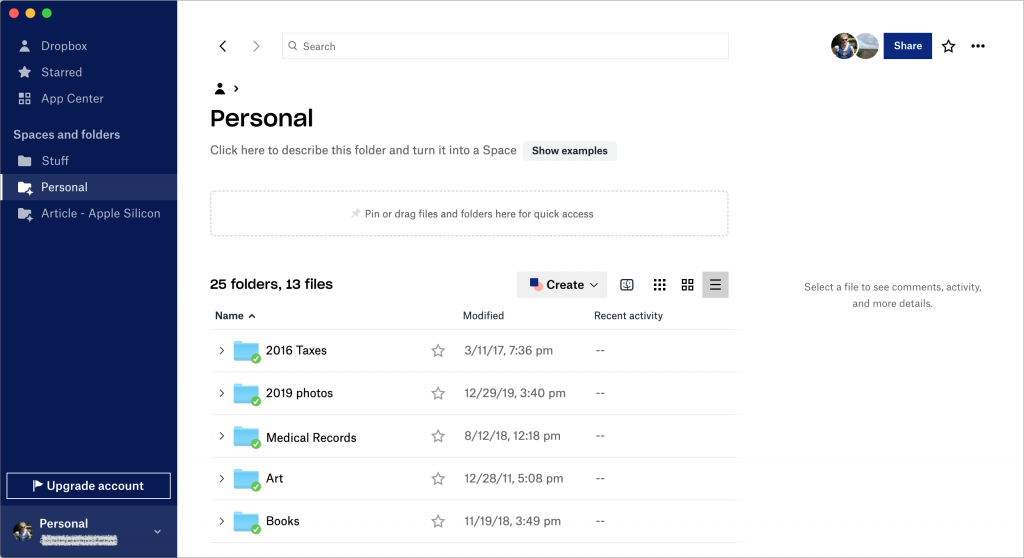
People work on local copies of the files, and changes are synced back to the original (and down to all other copies) on every save. Because you’re working on a local copy of the file, there are no performance issues. On the downside, it’s possible for two people to modify the same file at the same time, causing a conflict.
To reduce the likelihood of conflicts, try establishing a policy whereby people work on a file only after moving it into a Checked Out folder and appending their initials to the filename. That way, everyone else knows they shouldn’t open the file and who has it. When that person is done, they move the file back out of the Checked Out folder and remove their initials—in essence, checking it back in.
At the end of the day, many of us are feeling our way into the best ways to stay productive while working from home. Although these issues are the most common we’ve seen, the solutions tend to be highly specific to each user’s situation. Good luck navigating these new waters, and feel free to get in touch if you need help.
(Featured image by Lorenzo Cafaro from Pixabay)