Use iOS 11’s Do Not Disturb While Driving Feature
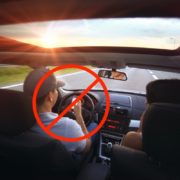
Distracted driving may not make headlines, but it’s a huge problem. In the United States in 2015, the National Highway Traffic Safety Administration says that 391,000 people were injured and 3477 killed in accidents caused by distracted driving.
Many things can distract drivers, but the most concerning—and the most avoidable—is texting. Given that the iPhone has a 30–40% share of the market, it might have been involved in as many as 100,000 injuries and 1000 deaths in just 2015. Not good.
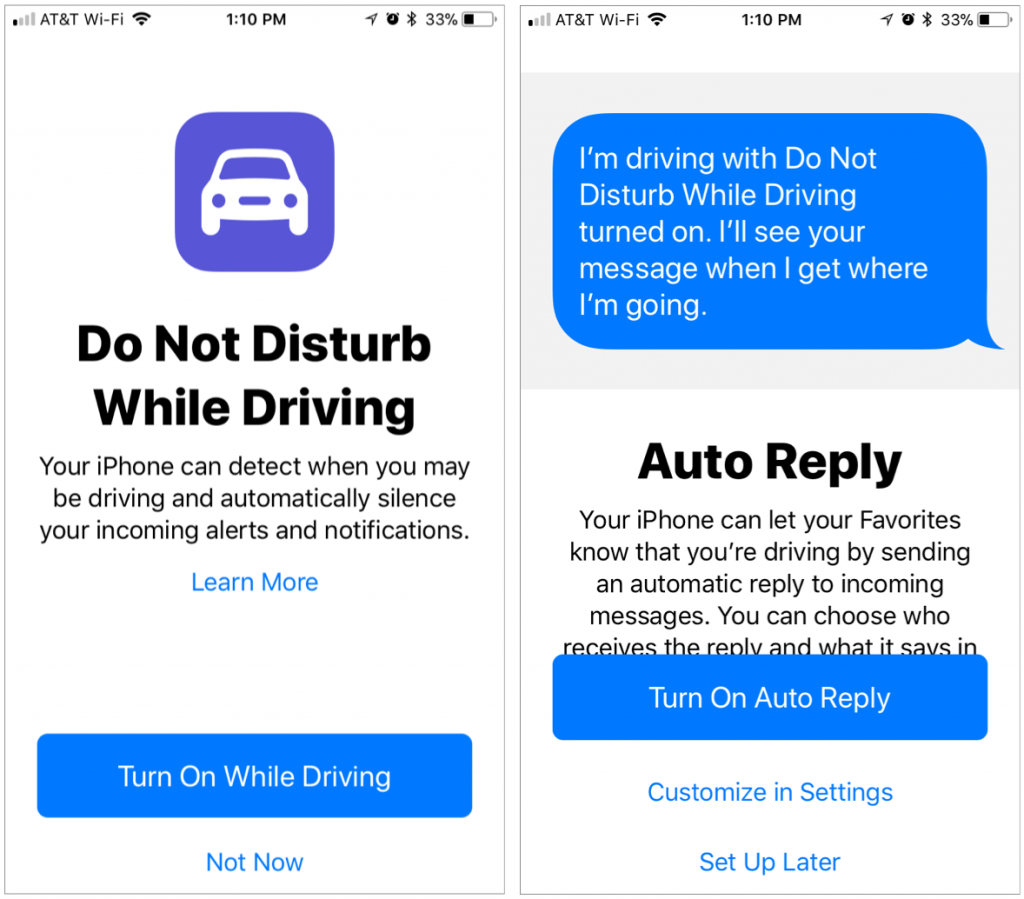
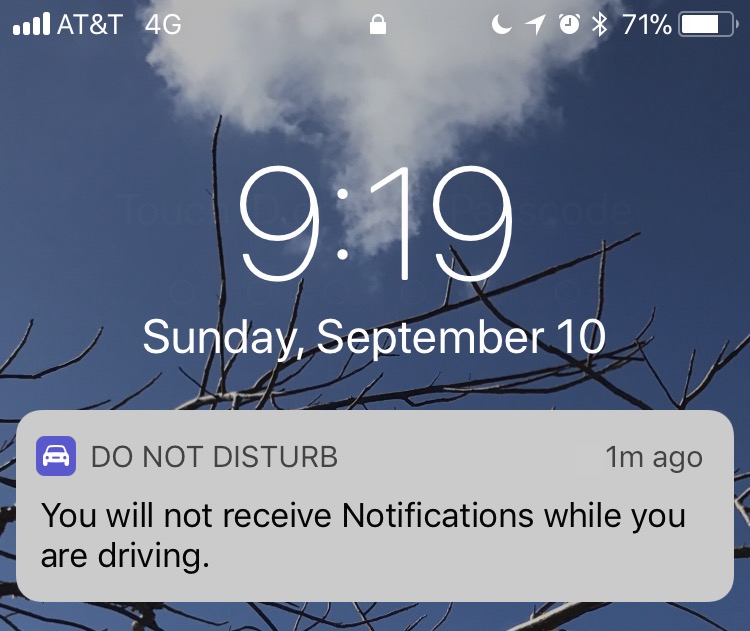
Apple has stepped up to the plate by introducing the Do Not Disturb While Driving (DNDWD) feature in iOS 11. You’ll be prompted to enable DNDWD when it first detects that you’re driving in a car after you install iOS 11. In normal use, it activates automatically when you’re driving, blocking notifications and preventing you from using apps until you stop the car. Here are answers to the most common questions we get about DNDWD.
How does the iPhone know that I’m driving?
The most reliable way is that your iPhone has connected to a car via Bluetooth. Obviously, that requires the car to support Bluetooth, and that you pair your iPhone with it. If there’s no Bluetooth connection, the iPhone uses its accelerometer and signals from nearby Wi-Fi networks to figure out that you’re driving.
In Settings > Do Not Disturb > Activate, you can choose from Automatically, When Connected to Car Bluetooth, or Manually. Stick with one of the first two options unless the iPhone regularly fails to detect that you’re driving, at which point you can add the Do Not Disturb While Driving button to Control Center, and activate DNDWD with it.
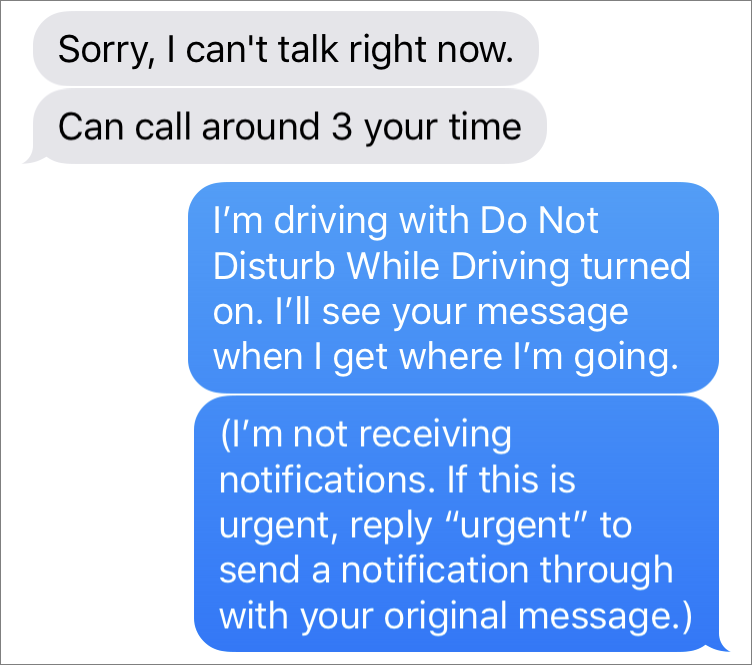
Will any notifications break through the DNDWD cone of silence?
Yes. As with standard Do Not Disturb, timers, alarms, and emergency alerts will still work. Plus, you can opt to receive urgent text messages. To enable this feature, go to Settings > Do Not Disturb > Auto-Reply To and choose a group (Recents, Favorites, or All Contacts). Those people will get an auto-reply—which you can personalize—when they text you, and if they reply to that auto-reply with the word “urgent,” the message will be delivered.
What about phone calls?
If your car has a Bluetooth hands-free system, phone calls will come in as they always have, and you can answer them via your steering wheel controls and carry on the conversation using the car’s built-in mic and speakers.
However, if you don’t have car Bluetooth or another hands-free accessory, DNDWD will block calls just as they would be by standard Do Not Disturb. That means you can allow calls from specific groups in Settings > Do Not Disturb > Allow Calls From and let anyone through if they call twice within 3 minutes.
Can I still use Maps to navigate?
Yes! Maps works on the Lock screen just as it always has, though it’s best started before you begin driving. If you keep your iPhone in a car mount so you can use it for navigating, DNDWD won’t get in the way.
Will Siri still work while in DNDWD?
Indeed it will, both via Hey Siri and by holding the Home button. But don’t do that—Hey Siri is safer than taking your hand off the wheel to press the Home button.
Siri won’t do some things for you while you’re driving, like open apps. Plus, Siri tries to respond to you so that you won’t have to look at the iPhone, reading all responses instead of displaying them on the screen.
How do I turn off DNDWD if I’m a passenger?
If DNDWD is on and you try to use your iPhone, an I’m Not Driving button appears. Tap it, and you can use your iPhone normally for the rest of the trip. If you’re always a passenger, go to Settings > Do Not Disturb > Activate, and select Manually. Then, if you do want to turn DNDWD on, you can use its Control Center button.

So hey, if you didn’t turn on Do Not Disturb While Driving when you first set up iOS 11, do us and everyone else on the road a favor and turn it on now. The life you save could be your own.