What Is The Best Hard Drive to Use for Your Backups?
Backing up your Mac is like flossing your teeth: everyone knows they should do it every night, but too many people never get around to it. Unlike flossing, once you set up backups, they don’t require daily attention. And turning on Apple’s Time Machine backup feature is easy—simply open System Preferences > Time Machine, click Select Backup Disk, and pick a hard drive to hold your backups.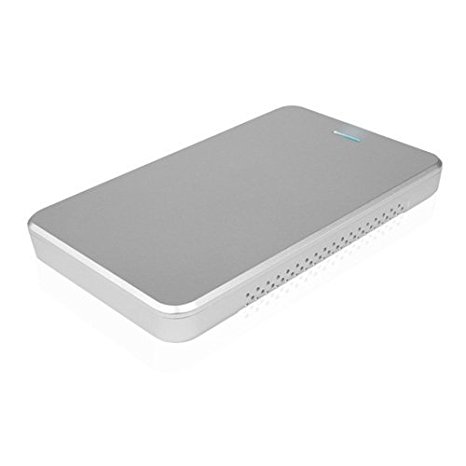 Ah, but there’s the rub. If you don’t have an appropriate hard drive, you need to get one, and there are tons of options. Here’s our rundown of what to look for, with recommendations.
How Much Space Do You Need?
The first question when looking for a backup drive is how much data it needs to hold. You could put a lot of effort into figuring this out, but for most people, the answer simple. Buy the largest drive you can reasonably afford, as long as it will hold at least two to three times as much data as you have or anticipate creating in the near future.
Say you use a MacBook Pro with a 512 GB SSD. You could get by with a 1 TB backup drive, which would be twice as large as your internal drive. But if a 1 TB drive costs $100 and a 2 TB drive costs $130, it’s worth the extra $30 to double the available space.
How Will You Connect It to Your Mac?
With external hard drives, you need to match the ports on your Mac with the ports on the drive. That might sound tricky, what with USB 3, FireWire, USB-C, and Thunderbolt. Luckily, for most people, the right choice is simple: a drive that supports USB 3. They’re inexpensive and plenty fast for backups.
Nearly every Mac sold since 2012 supports USB 3, either via the familiar USB-A port or the newer USB-C/Thunderbolt 3 port. If your Mac has only USB-C ports—as would be the case if you have either a MacBook or a recent MacBook Pro—you may also need an adapter cable that’s USB-A on one end and USB-C on the other.
What Type of Drive Should You Buy?
Inside the case, an external hard drive contains either a 2.5-inch or 3.5-inch drive mechanism.
- 2.5-inch drives are smaller, more portable, and usually bus-powered, meaning they get power from your computer instead of from a wall outlet, which makes them easier to hook up and use. They’re also designed to be more rugged. On the downside, they cost more per gigabyte, max out at 5 TB in size, and are often slower.
- 3.5-inch drives usually need to be plugged into power, and they’re less appropriate to carry around. However, they cost less per gigabyte and can be bought easily in sizes up to 8 TB. Plus, they tend to support more connection types, making them more flexible.
If you work mostly on a notebook Mac and lead a mobile lifestyle, carrying a bus-powered 2.5-inch drive ensures you can back up while traveling. Such a drive might also be best for a MacBook-equipped college student. However, if your Mac mostly sits on a desk or you bring your laptop back to the same place every night, you’ll likely be better served by a 3.5-inch drive—they’re faster, cheaper, and store more data.
Putting It All Together
At MacLife, we build our own external hard drive solutions that come with our exclusive 5-year in-store warranty, so there’s no fuss or hassle should you encounter problems. Come see us today!