Apple Finally Updates the MacBook Air and Mac mini, and Revamps the iPad Pro
At a special event at the Brooklyn Academy of Music, Apple threw back the curtains on significant updates to the long-ignored MacBook Air and even longer-ignored Mac mini. Then Tim Cook and company followed up with revamped 11-inch and 12.9-inch iPad Pros, complete with an enhanced Smart Keyboard Folio and redesigned Apple Pencil. You can order all of Apple’s new gear right away, though demand may delay shipping for a week or two on some items.
MacBook Air Gains Retina Display and Touch ID
When Steve Jobs introduced the MacBook Air in 2008 by pulling it out of an envelope, it set the standard for the ultralight notebook category. But Apple has focused on the high-end MacBook Pro line of late, making this major revision extremely welcome.
Retina Display and Touch ID
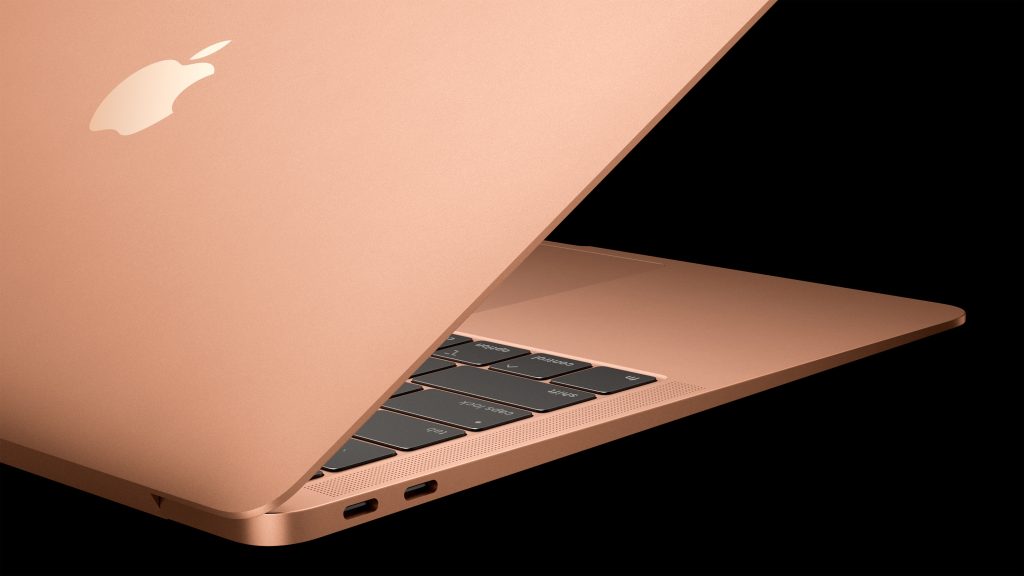
Most notably, the new MacBook Air features a 13.3-inch Retina display that’s far crisper than the previous model’s screen. Although the screen is the same size as before, Apple eliminated the aluminum bezel around it, taking the screen much closer to the edge. That let the company reduce the MacBook Air’s size, making it almost an inch (2.1 cm) less wide and more than half an inch (1.5 cm) less deep. Even more important, Apple dropped the weight by almost a quarter pound (100 g). It’s noticeably smaller and lighter now.
The other major improvement in the MacBook Air is the addition of a Touch ID sensor in the upper-right corner of the keyboard. Rather than typing your password to log in, you can just place your finger on the Touch ID sensor. It also works to unlock some apps like 1Password. To support the Touch ID sensor, the MacBook Air includes Apple’s T2 security chip, which prevents the boot process from being tampered with, encrypts all data on the SSD, and enables “Hey Siri.”
Evolutionary Updates
Many of the remaining changes just bring the MacBook into the modern age. It sports two Thunderbolt 3 ports on the left side for charging and connecting peripherals, and a headphone jack on the right side—all the previous ports are gone. The keyboard is the same one used in the most recent update to the MacBook Pro, which isn’t universally loved—if you’re particular about keyboards, give this one a try before buying. Apple also replaced the old Multi-Touch trackpad with a larger Force Touch trackpad that’s more responsive and provides additional capabilities.
By default, the MacBook Air comes with 8 GB of RAM and a 128 GB SSD. You can jump to 16 GB for $200, and we generally recommend that. Similarly, you can upgrade the storage to 256 GB for $200, 512 GB for $400, or 1.5 TB for $1200.
We haven’t mentioned performance yet. Apple says only that the MacBook Air’s 1.6 GHz dual-core Intel Core i5 processor delivers “the performance you need for everyday activities like organizing your photos, browsing the Web, creating presentations or viewing and editing videos.” Since Apple never misses the chance to say how much faster a new Mac is than the model it replaces, we have to assume that the new MacBook is no faster than the old one. Hopefully, benchmarks will appear soon.
Price
The new MacBook Air comes in silver, gold, and space gray, and pricing starts at $1199 for 8 GB of RAM and 128 GB of storage. If performance is important to you, however, you should consider the non-Touch Bar 13-inch MacBook Pro, which costs only $100 more and is just a bit heavier. And if you’re willing to settle for older technology and a larger form factor, note that the old MacBook Air remains for sale starting at $999. Finally, the 12-inch MacBook also remains in the lineup, but at $1299, it’s overpriced and underpowered, and thus interesting only if you want the smallest possible Mac.
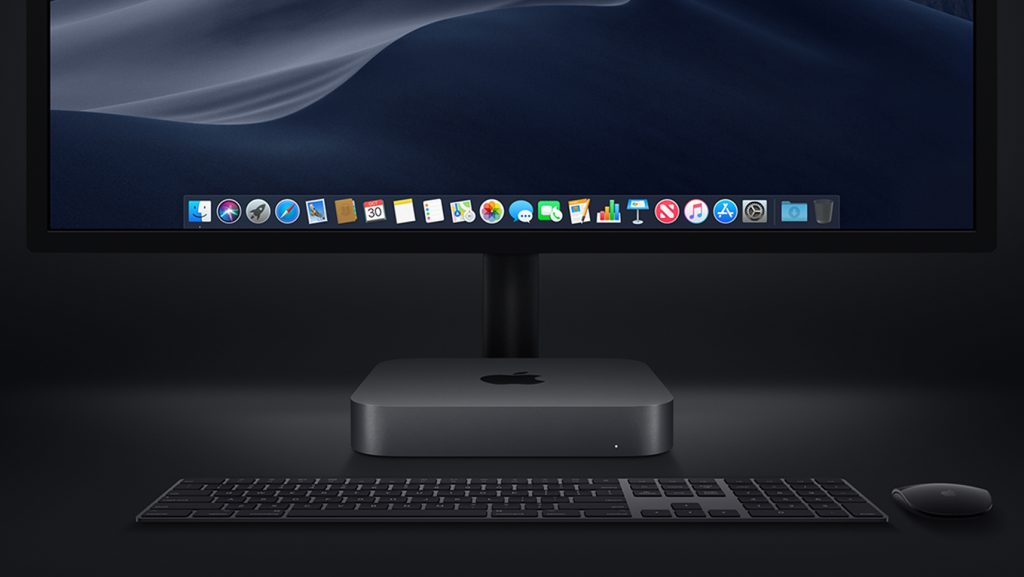
Mac mini Goes Pro with Massive Performance Boost
Apple updated the MacBook Air for consumers and students, but the company is aiming the revamped Mac mini at professional users. This update, the first in over 4 years, takes a cue from the similarly pro-focused iMac Pro in changing the color from silver to space gray, but otherwise it retains the same form factor—7.7 inches (19.7 cm) square and 1.4 inches (3.6 cm) high.
Speeds and Feeds
What has changed are the guts of the Mac mini, which offer huge performance gains over the previous version from 2014. Those improvements come from eighth-generation Intel Core processors: a base 3.6 GHz 4-core i3, a mid-level 3.0 GHz 6-core i5, and a top-of-the-line 3.2 GHz 6-core i7. Apple claims up to five times the performance of the previous Mac mini and up to 60% speedier graphics performance thanks to the integrated Intel UHD Graphics 630.
You won’t lack for RAM or storage either. The Mac mini comes with 8 GB of RAM, but you can upgrade to 16 GB ($200), 32 GB ($600), or 64 GB ($1400). Less expensive memory is available from other vendors. While the Mac mini’s base 128 GB of SSD storage might be adequate if all your data is stored on a NAS device, you can upgrade to 256 GB ($200), 512 GB ($400), 1 TB ($800), or 2 TB ($1600). That storage is automatically encrypted thanks to the Mac mini’s T2 security chip, which also speeds HEVC video transcoding.
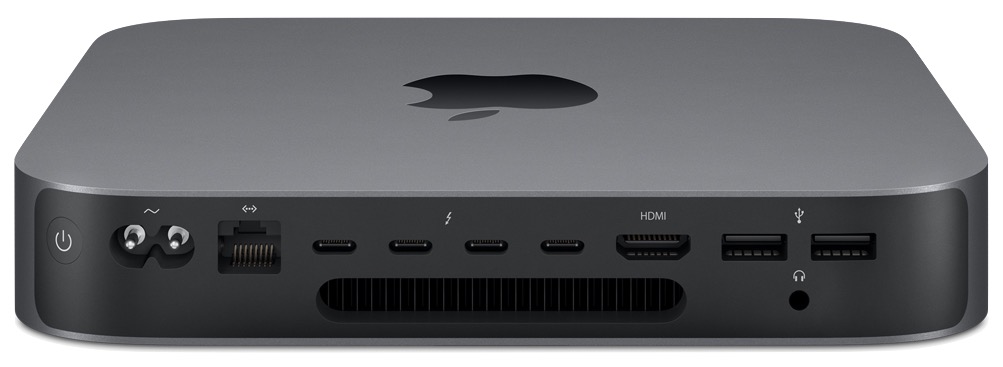
While Apple’s notebooks have been shedding ports, the Mac mini has bucked the trend. It features four Thunderbolt 3 ports, an HDMI 2.0 port, two USB-A ports, an audio jack, and a Gigabit Ethernet jack, with 10 Gigabit Ethernet as an option. Thanks to the Thunderbolt 3 and HDMI ports, you can connect either a 5K display and a 4K display, or three 4K displays.
Price
All this power comes at a price. The new Mac mini starts at $799 for the 3.6 GHz 4-core Intel Core i3, 8 GB of RAM, and 128 GB of storage. However, build-to-order options for a faster processor, more RAM, and more storage could raise the price to a whopping $4199.
Nonetheless, the Mac mini is once again an attractive option for anyone who already has a good display, keyboard, and mouse, none of which are included. It’s also ideal for those who want to stuff a Mac into a tight space, bring it on stage for a live performance, or stack a bunch of them for rendering video.
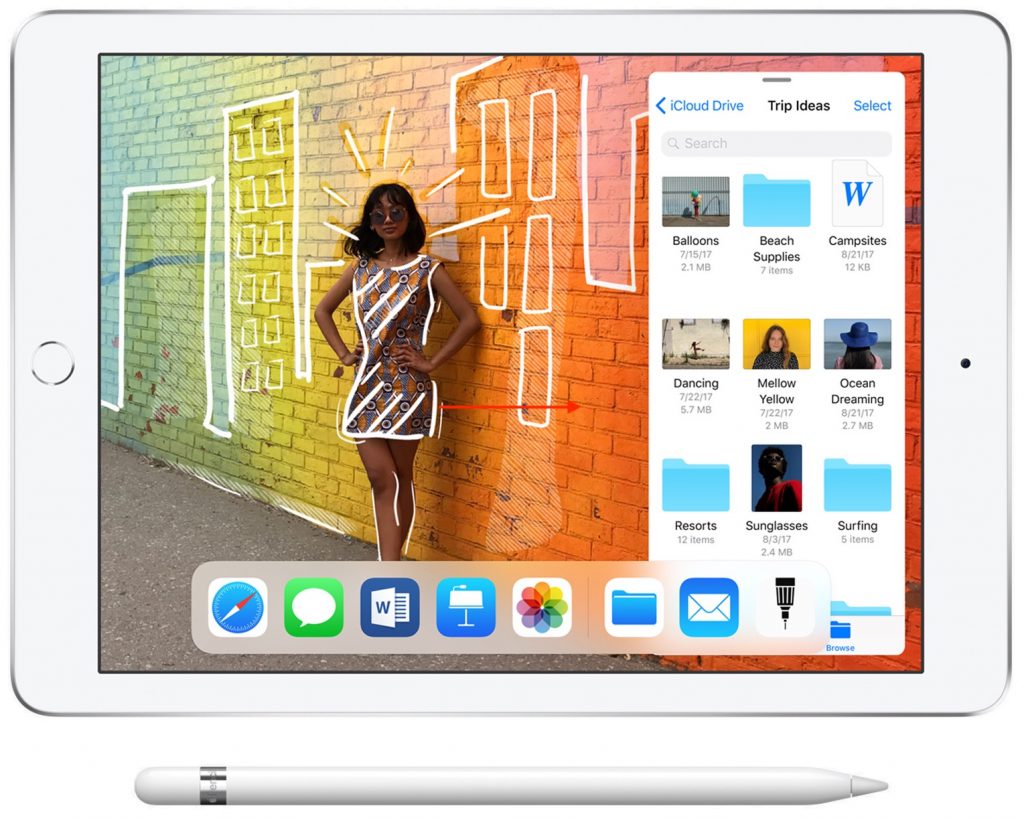
11-inch and 12.9-inch iPad Pro Boast New Screens and Redesigned Apple Pencil
As welcome as the MacBook Air and Mac mini updates were, Apple really knocked it out of the park with its new iPad Pro models, which are the most significant changes to the iPad line yet.
Face ID Enables Physical Redesigns
Like the iPhone X series, these new iPad Pros drop Touch ID in favor of Face ID authentication. The 7-megapixel TrueDepth camera on the front of the iPad Pro that makes Face ID possible also enables support for Portrait mode, Portrait Lighting, and Animoji and Memoji.
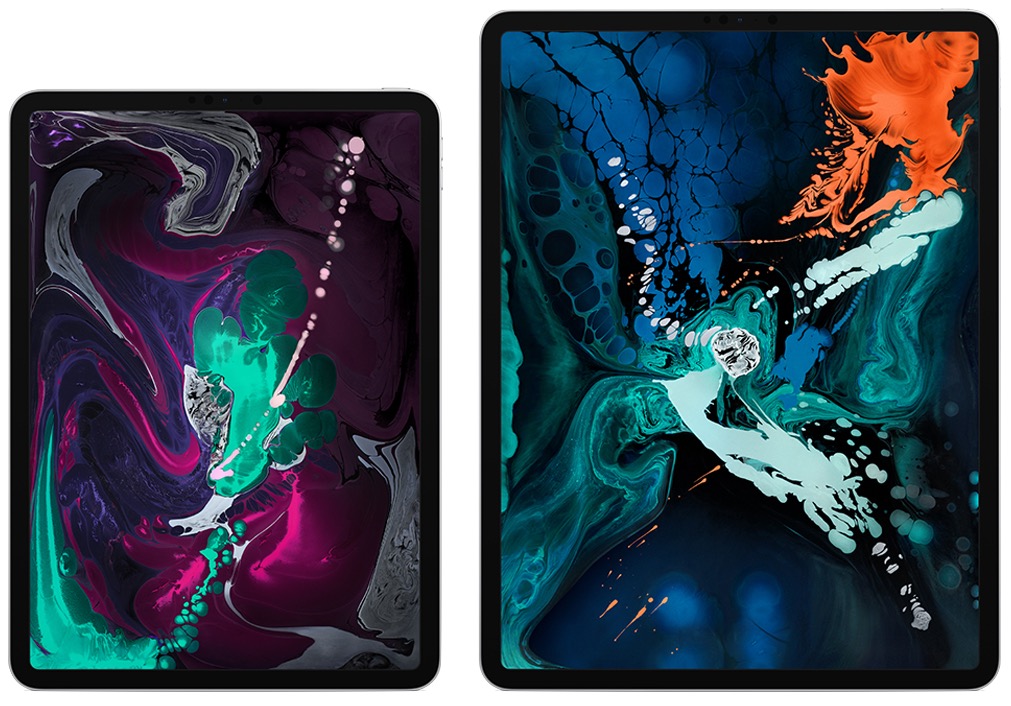
Losing the Home button enabled Apple to bring the display closer to the edge of the iPad. With the 11-inch iPad Pro (the measurement is the diagonal screen size), that means a larger display in roughly the same form factor as the older 10.5-inch model (which remains for sale). And with the 12.9-inch iPad, Apple kept the display size the same as before but shrank the height of the case by almost an inch so it’s now the size of an 8.5-by-11-inch piece of paper and a little lighter.
Apple also changed the industrial design slightly, reverting to the flat edges last seen in the iPhone 5s. One of those edges sports a magnetic attachment area and wireless charging spot for the redesigned Apple Pencil.
Speaking of charging, Apple broke with tradition and dropped the Lightning connector in favor of the industry-standard USB-C for charging and connecting to peripherals. That will make it easier to connect to an external display. You may also need a $9 USB-C-to-3.5mm headphone jack adapter.
Incremental Changes
Those are the most obvious new features, but some of the more evolutionary changes will be equally as welcome. Most notable is the new A12X Bionic chip with embedded M12 coprocessor and Neural Engine. This Apple-designed chip is reportedly faster than 95% of laptops available today, and it gives the iPad Pro unparalleled performance among iOS devices.
That performance also powers the improved 12-megapixel rear camera, giving it enhanced computational photography capabilities, like Smart HDR, which takes multiple images and combines them intelligently for the best possible exposure. On-screen performance is improved, and everything will look better than ever before thanks to a new Liquid Retina display that features Apple’s True Tone and ProMotion technologies. In a classic Apple touch, the screen now features rounded corners.

Accessories
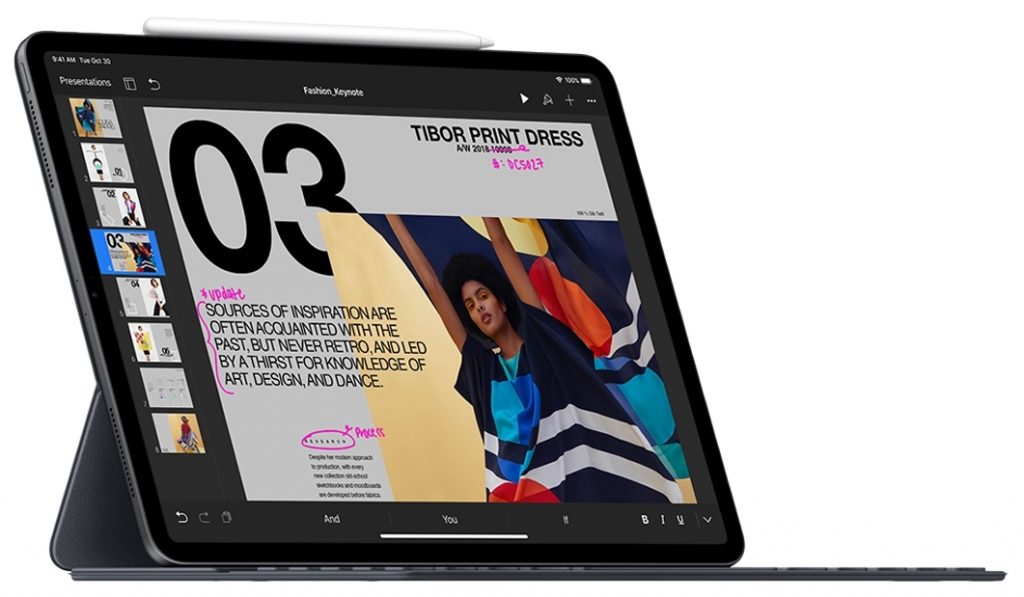
Along with the revamped iPad Pro models, Apple introduced a new Smart Keyboard Folio that improves on the previous Smart Keyboard by wrapping around to protect the back of the iPad Pro as well. It uses a redesigned Smart Connector and provides two viewing angles.
More impressive is the new Apple Pencil, which now features a flat, touch-sensitive surface that you can double-tap to change drawing modes in many apps. That flat surface also makes it easy to attach to the edge of the iPad Pro magnetically so you won’t lose it and where it charges wirelessly. The easy-to-lose cap is gone, as is the Lightning connector, so the Apple Pencil is now shorter and more pencil-like—it won’t roll off the desk anymore.
Price
How much will all this goodness cost? By the time all is said and done, you’ll be in MacBook Air range. The 11-inch iPad Pro starts at $799 for a Wi-Fi-only model with 64 GB of storage. 256 GB runs $949, 512 GB is $1149, and 1 TB will set you back $1549. Add $150 if you want cellular connectivity in any of these configurations.
For the 12.9-inch iPad Pro, add $200, so $999 for 64 GB, $1149 for $256 GB, $1349 for 512 GB, and $1749 for 1 TB. Cellular puts another $150 on the tab. Both sizes of iPad are available in either silver or space gray.
The new Apple Pencil costs $129, and the Smart Keyboard Folio is either $179 for the 11-inch model or $199 for the 12.9-inch model.
Remember, you can still get a regular iPad for as little as $329 and the original Apple Pencil is only $99, so if all you want is an iPad, you don’t need to spring for an iPad Pro. But if you’re using an iPad Pro as your primary work device and are willing to pay for the power, these new models are compelling upgrades.


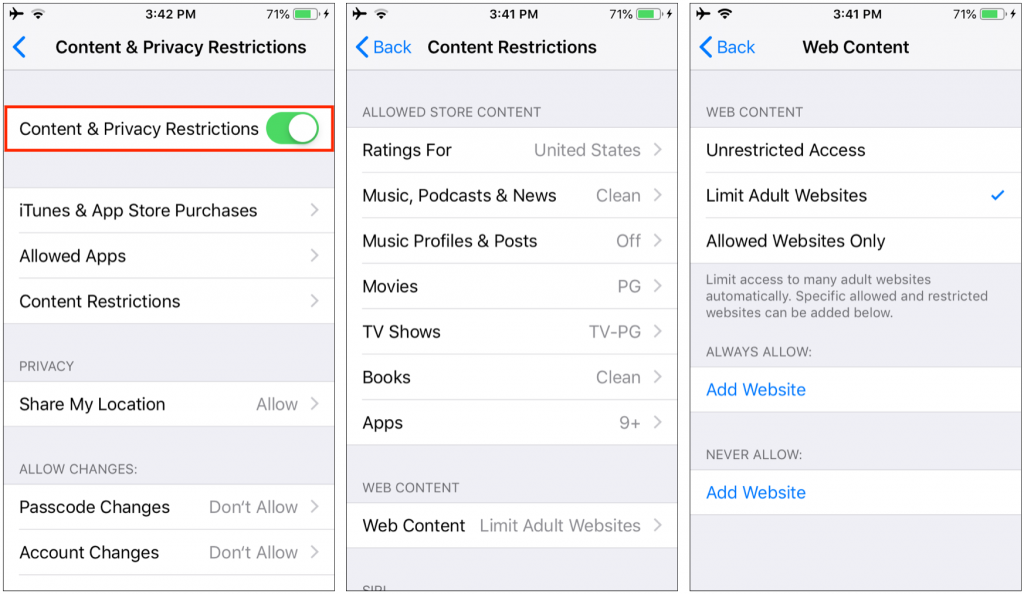
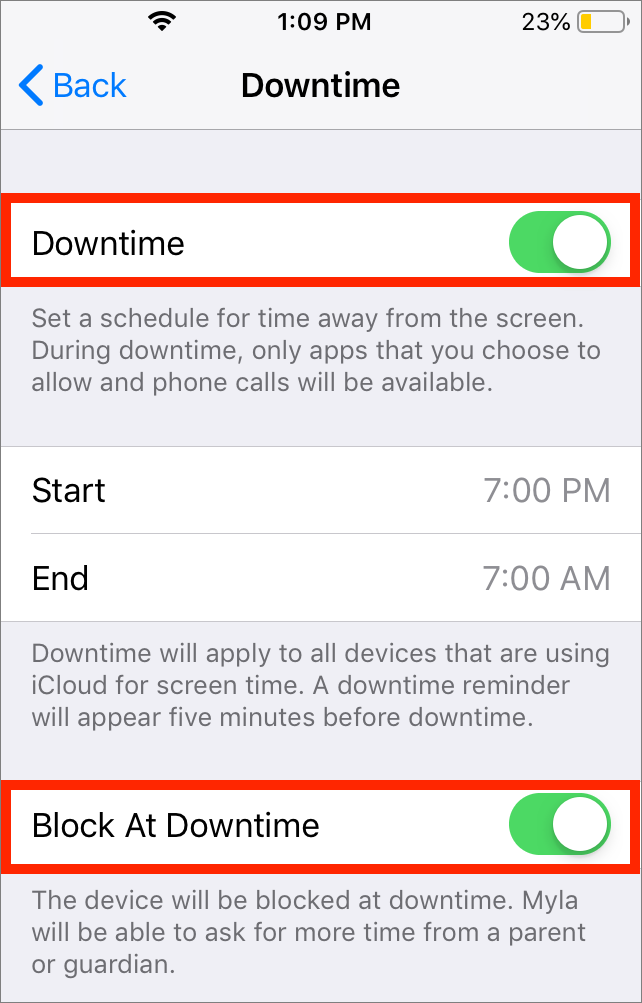 Downtime is useful for blocking all device usage during a time when your child should be sleeping, doing homework, or just not using the screen. You can set only one time period, so if you want to control usage on a more complex schedule, you’ll need to do that in another way.

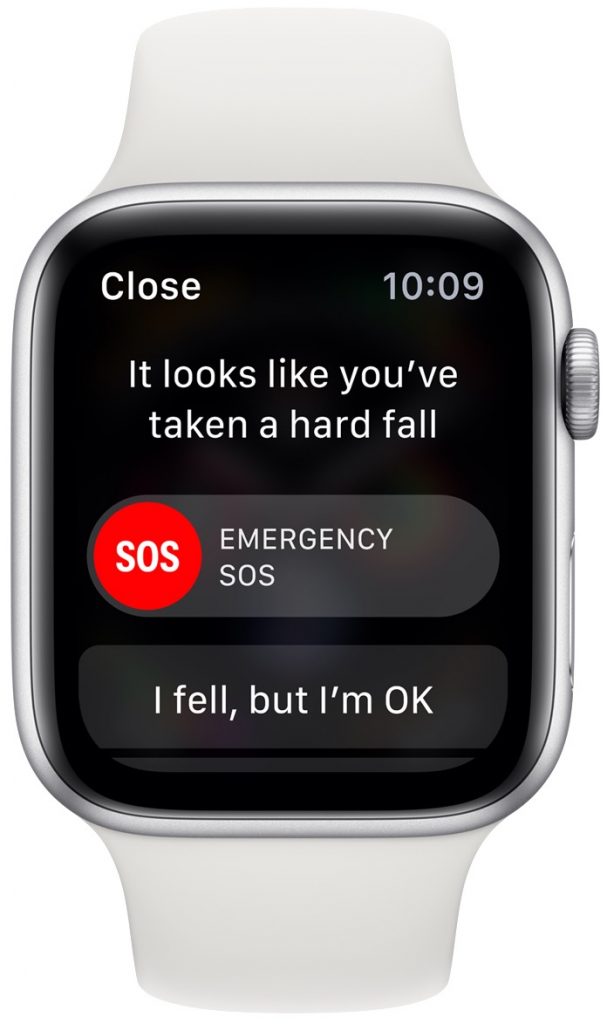 The new Apple Watch Series 4 may be the gift hit of the season as adult children buy it for aging parents. That’s happening due to the Apple Watch’s health monitoring capabilities, which include fall detection, atrial fibrillation detection, and (soon) the capability to record electrocardiograms. It may seem expensive at $399 for the Wi-Fi version or $499 for the cellular version that can call emergency services even if its companion iPhone isn’t nearby, but the cost pales in comparison with the price of any medical event.
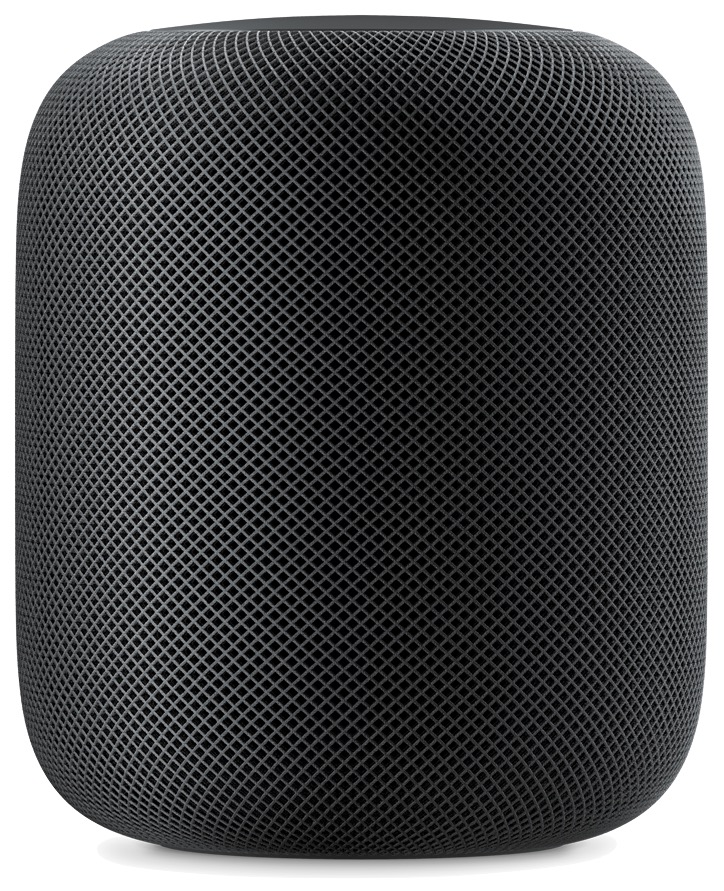 Apple’s smart speaker may not be as popular as the Amazon Echo and Google Home, but it sounds way better than its cheaper competition. Apple designed it to work with the $9.99 per month Apple Music service so if your recipient doesn’t already subscribe to Apple Music, you could include a subscription as part of the gift. The HomePod is available in black or white, and it’s super simple to set up and use via Siri for music, podcasts, speakerphone calls, kitchen timers, and a whole lot more.
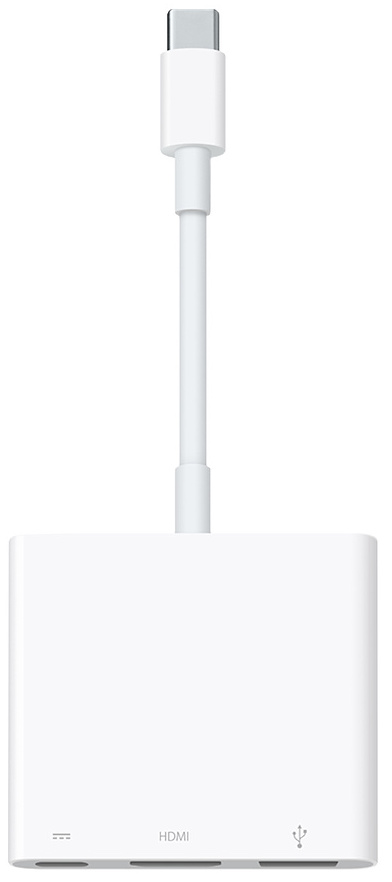
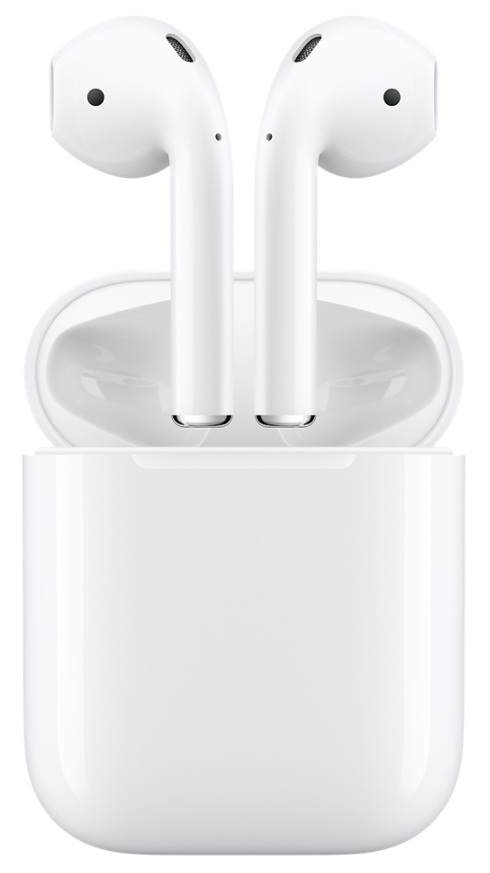 One of the most popular Apple products of late has been the AirPods, svelte wireless earbuds that pair quickly and seamlessly to all Apple devices logged in to the same iCloud account. They’re light, stay in the ear well, and are comfortable even for many people who can’t wear the wired EarPods. At $159, they’re not cheap, but they’re less expensive than many competing wireless earbuds.