What Is Google Web & App Activity, and Should You Leave It Enabled?

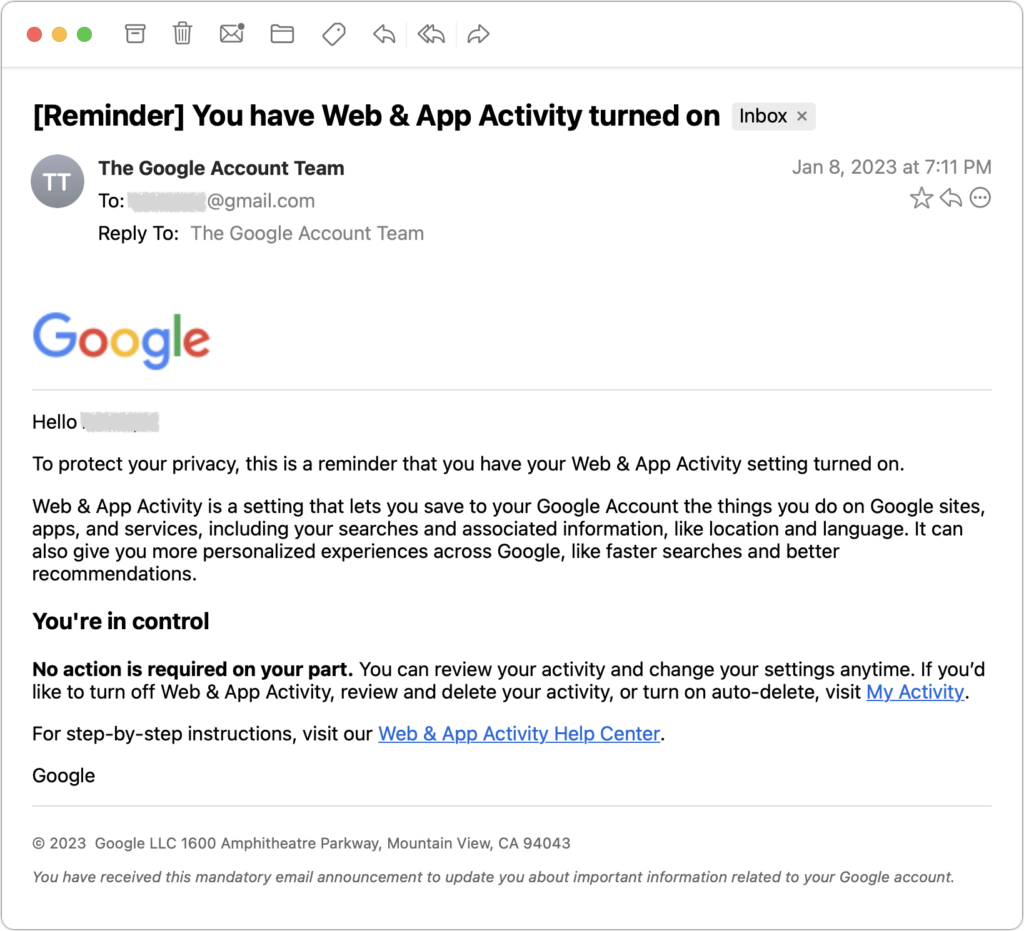
Earlier this year, some of our clients received an email from Google reminding them that they have Web & App Activity turned on. Those with a healthy dose of caution were concerned that it might be a phishing attack, but no, it’s legitimate. Their next questions were often, “Wait, what is Web & App Activity, and do I want it enabled?” Here are some answers.

What Is Web & App Activity at Google?

Simply put, Web & App Activity is a record of almost everything you do on Google sites, apps, and services. It includes your searches and activity in Google Search, Google Maps, Google Assistant, Google News, Google Photos, YouTube, and more. If you use Google Chrome as your browser, it includes your browsing history. It also stores usage and diagnostic information from Android smartphones. What’s less obvious is that Web & App Activity can even include information from sites and apps that partner with Google to show ads or that use Google services. Activity can be saved even when you’re offline or signed out.

That sounds like a lot, and it is! One reason there’s so much is because Google is such a dominant provider of services on the Internet today. Google Search is by far the most popular search engine, only recently has Apple Maps competed head-to-head with Google Maps, YouTube is the main source of video on the Internet, and so on. It’s hard to avoid Google, even if you wanted to, which most people don’t.

In addition to offering a lot of services, there are two more reasons why Google collects so much information about its users: personalization and advertising:

  • Personalization: When a service knows what you’ve searched for and how you’ve used it in the past, it can adjust its behavior to improve future usage. For instance, Google Search can suggest search results that are nearby you if it knows where you are, and YouTube can recommend videos based on what you’ve watched previously.
  • Advertising: The bulk of Google’s revenue comes from companies that pay Google to display their ads. We’re talking hundreds of billions of dollars per year, which is why it’s important to Google to learn as much about you as possible in order to give advertisers the best chance of enticing you to click their ads.

For many (most?) people, there’s a tension between personalization and advertising. You want Google to know more about you so its services work better, but you may not want the company to know so much about you that it can charge advertisers a higher price for access to you. Ad-driven companies like Google claim people prefer personalized ads, but most people we talk with dislike having ads—particularly for already purchased items or past vacations—follow them around the Internet. That’s what Apple is channeling with its Tracked video.

How Should You Configure Web & App Activity?

What you should do depends on how much benefit you feel you derive from the personalization of Google apps and services, and what you think about personalized ads. On your Activity Controls page, Google provides a single master switch that lets you pause Web & App Activity, though you’ll have to acknowledge that it may impact your experience of Google sites, apps, and services signed in to your account. Make sure to scroll down on this page to access the settings for Location History, YouTube History, and Personalized Ads.

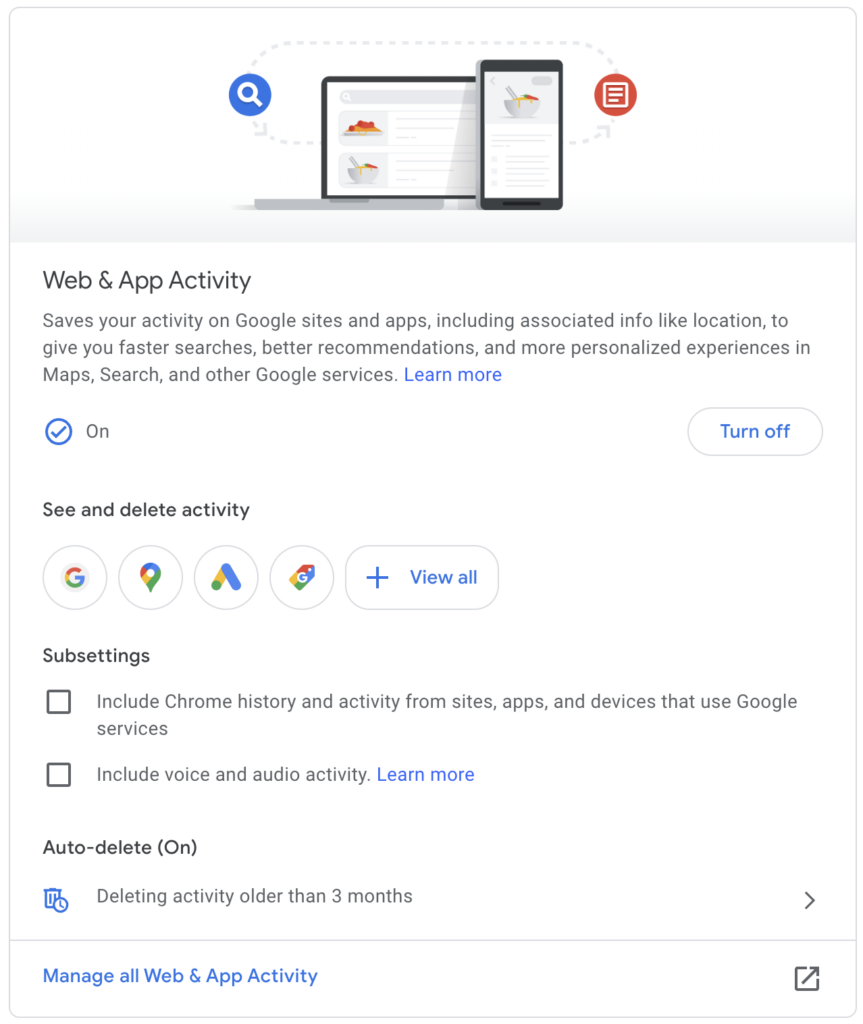
By clicking the icons for each service under “See and delete activity,” you can get a sense of just what Google has recorded about you, and you can delete data manually if it perturbs you. Google can also automatically delete activity older than 3 months, 18 months, or 36 months. The utility of keeping data longer is if you want to review what you did in the past. Google says that auto-deleting data sooner will reduce personalization, but that feels like a stretch.

There are two important subsettings:

  • Chrome: In the Web & App Activity card, under Subsettings, there’s a checkbox for including Google Chrome history and activity from sites, apps, and devices that use Google services. We suggest disabling this—it seems unlikely that it would improve your Internet experience sufficiently to warrant the privacy intrusion.
  • Audio: You’ll also find another checkbox for voice and audio activity, which Google uses to improve its audio capabilities. The reason to turn this setting off is that human reviewers may listen to your audio samples. Google anonymizes and deletes the data after 7 days, but it may still feel icky to have people listening to your audio clips.

Scrolling down, you hit cards for the three major privacy settings that Google separates from Web & App Activity. (You can also access these on Google’s Data & Privacy page, where you can also start a privacy checkup.)

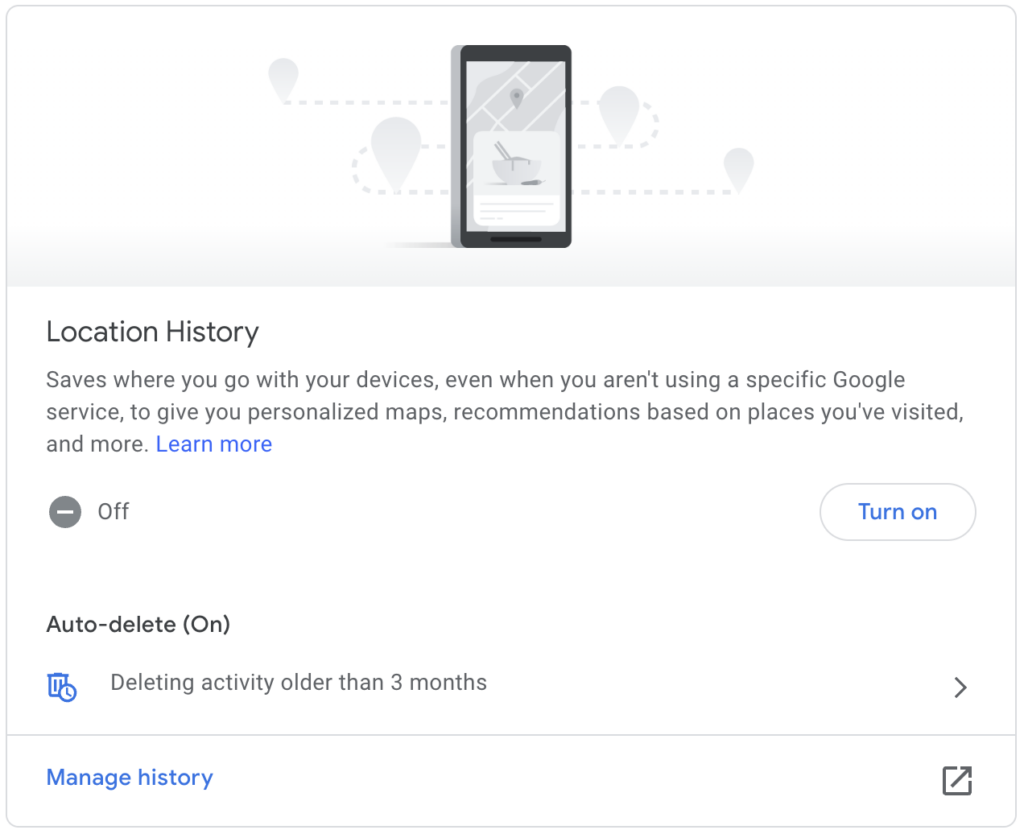
  • Location History: With this setting on, Google knows where you go with your devices, even when you aren’t using a specific Google service, to give you personalized maps, location-based recommendations, and more. If you look through this data and are creeped out by the fact that it shows your every movement, turn it off.
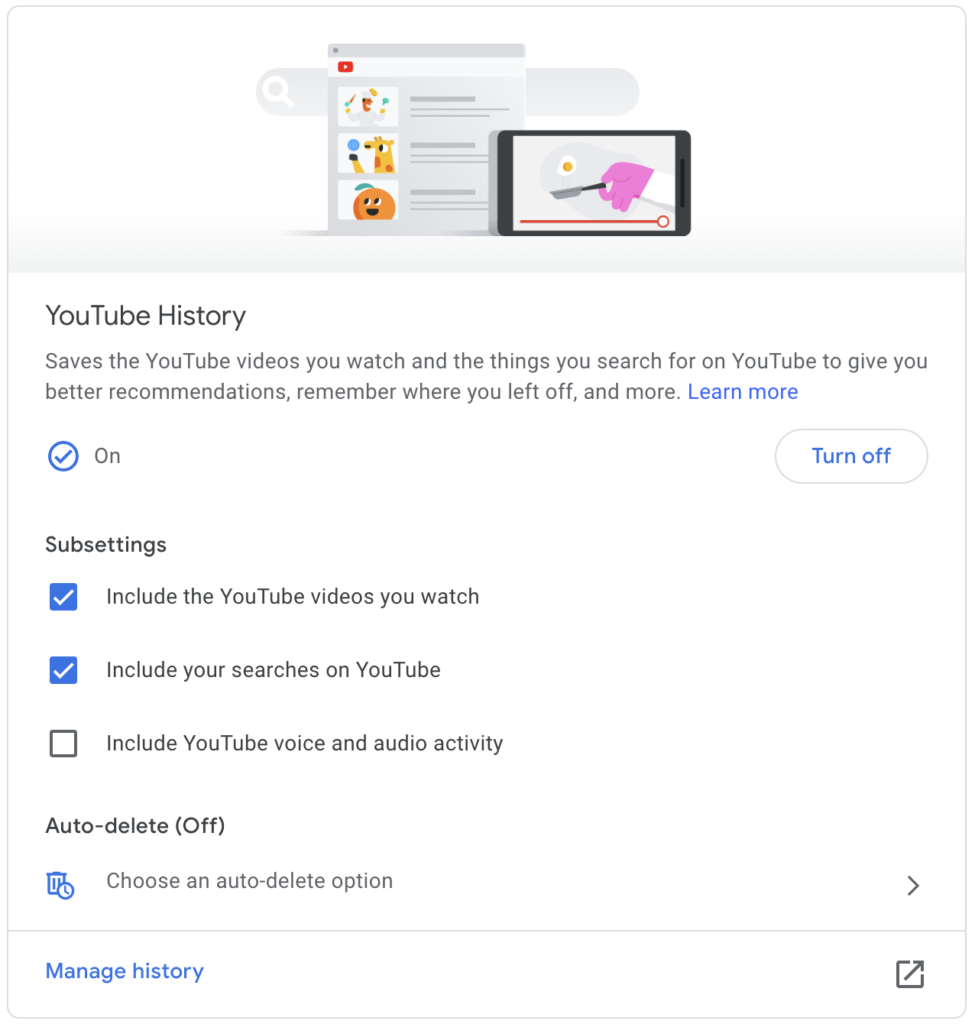
  • YouTube History: This setting saves the videos you search for and watch to provide better recommendations, remember where you left off, and more. This option may feel innocuous as long as you don’t mind your video watching being associated with your account—if you’re viewing content that would embarrass you if it got out, perhaps disable this setting.
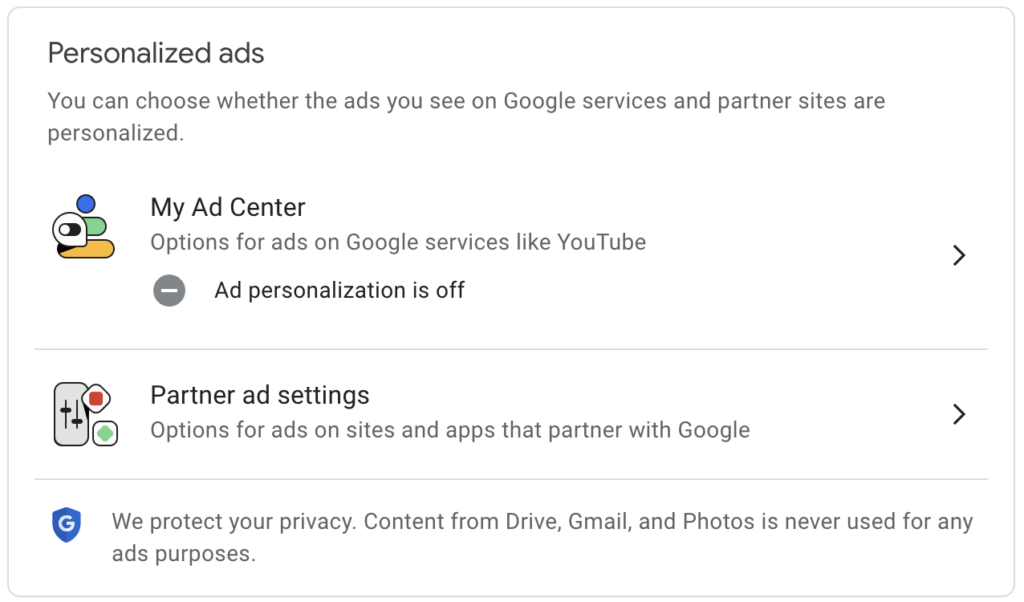
  • Ads: You can disable personalized ads from Google, which prevents Google from using your information to help advertisers entice you to buy more stuff. You’ll still see the same number of ads, but they should be less aimed at you personally.

Finally, there’s a grab-bag collection of lesser-known Google services that track your activity. To find these and delete the data they stored about you, go back to the Web & App Activity card, click Manage All Web & App Activity at the bottom, and then click Other Activity in the sidebar. It includes controls for Google Pay, Google Wallet, Google Workspace search history, YouTube channel subscriptions, YouTube “Not interested” feedback, and many other Google-related services. Most of this stuff seems unobjectionable, but delete it if it bothers you.

It’s hard to say if leaving any of these settings on or turning them off make a real difference in your life. If Google collecting all this data bothers you, try disabling everything and see if the lack of personalization makes for a worse experience. Or pick and choose based on things that perturb you more (like location tracking and ads) or less (like YouTube history). There’s no harm in testing!

(Featured image by iStock.com/ValeryBrozhinsky)

The Amazingly Convenient Way to Scan Documents Using Your iPhone or iPad

On occasion, we all need to scan a document—an invoice, a recipe, instructions from a book—but far more people have an iPhone or iPad than a hardware scanner. Luckily, Apple has built a scanning capability into iOS, iPadOS, and macOS for some years now. The next time you’re faced with a piece of paper that you need in digital form, follow the instructions below.

Scan Directly with an iPhone or iPad

The little-known key to scanning with an iPhone or iPad is the Files app, which lets you scan one or more pages and save a PDF anywhere you like. Since it’s particularly easy to use iCloud Drive with Files, it’s a good way to create a file you can work with on your Mac later. (You can also scan into a note using the Notes app, but that’s mostly useful for storing information rather than creating files you can upload to the Web, send via email, or share in other ways.)

  1. Open the Files app, tap Browse in the toolbar, and navigate to the folder where you want the scanned document to end up.
  2. Tap the icon at the upper right and select Scan Documents.
  3. The camera viewfinder appears. At the top of the screen, note the controls for the flash (the lightning bolt), the color filter, and the Auto/Manual toggle (below left). Immediately tap Auto to switch to Manual—we recommend using Manual until you’ve become fluid enough with the controls to let your device scan for you. You seldom need to change the flash setting, but you can force the flash on or off if you like. Similarly, the color filter option defaults to a color scan, but you can set it to grayscale or black-and-white if you want. It’s easier to make that change afterward.
  4. Hold the iPhone steady so it can detect the edges of the paper. When it has, tap the round white shutter button to take a photo (above left). In Auto mode, it will just keep taking images for you, which is efficient with multiple pages but stressful if you aren’t ready.
  5. Examine the scan to see if it looks good. You can drag the corners to adjust the selection to capture just paper, or if the image isn’t right, tap Retake for a do-over (above right). When you have it as you want it, tap Keep Scan.
  6. If you want to scan additional pages, put them in the viewfinder and repeat Steps 4 and 5 (below left). Or, if you’re done, tap Save and jump directly to naming your file (below right).
  7. If a page isn’t exactly the way you want it, tap the image well to the left of the shutter button to make changes. On the edit page, the crop icon at the bottom returns you to the previous screen to adjust the corners again. The color filter icon lets you choose from Color, Grayscale, Black & White, and Photo—stick with color or grayscale for most documents. If the document came in at the wrong orientation, tap the rotate icon. If the image still isn’t to your liking, you can retake it or tap the trash icon to delete it. If you’ve scanned multiple documents, you can swipe between them. Tap Done when you’re finished, and return to Step 6 to save.

Scan to Your Mac with Your iPhone or iPad

It’s easy enough to save a scanned document to iCloud Drive or another file sharing service so you can access it on the Mac or move it from the Files app to the Mac. But if your goal is to scan directly to the Mac, you can do that too.

In Preview, choose File > Import from iPhone > Scan Documents. (Preview will know about all your devices, so it will have sections for each device.) A dialog will appear on the Mac, and your device will immediately switch to the scanning interface.

Everything works just as it does if you initiated scanning from the device, including the Auto/Manual switch and the need to tap Save when you’re done. However, instead of saving the document to Files, it will appear as a new document in Preview, where you can work with it like any other PDF and save it to your drive.

Final Thoughts

There are two caveats to scanning documents using your iPhone or iPad:

  • This approach to scanning does not do optical character recognition (OCR) to make the scanned text selectable—the resulting PDF pages are just images. Online tools can perform OCR on a PDF; we’ve seen good results from AvePDF’s OCR PDF tool. This might not be a good idea with sensitive documents.
  • Scanned documents tend to be large. If your scan ends up too big to share via email, for instance, other online PDF compression tools can shrink files. If you use AvePDF to OCR your document, another click on its Hyper-Compress PDFs tool can compress the same document by as much as 90%.

Overall, you’ll probably get better quality from a hardware scanner—particularly a flatbed—because it’s easier to position the pages perfectly, the light is stronger and more even, and there’s no need to deskew (straighten) the scanned page images, as Apple’s software attempts to do when you’re not directly over the page. But it’s hard to beat the convenience of a quick scan with your iPhone when quality isn’t paramount.

(Featured image by Adam Engst)

Six Ways of Making It Easier to Browse Your Favorite Websites

Everyone—or at least everyone reading this article—knows how to use a Web browser. But just because you can click links, search for websites, and type URLs doesn’t mean that you’re surfing the Web as smoothly and effectively as you could. We all have sites that we visit regularly—a local newspaper, perhaps, or a social media service that’s the only place to connect with far-flung family members. Plus, the rise of Web apps like Google Docs means that we may spend hours every day in a Web browser at a particular site.

Here then are six ways that you can make it easier to use the same sites every day. This list is far from comprehensive, but we hope it gets you thinking about how you can spend less time typing URLs and searching for sites. We’ll focus on Safari here, but similar features are available in most Web browsers.

Bookmarks

Many of you probably know about bookmarks, so let this serve as a nudge to remember how useful they can be. Dating from the earliest days of the Web browser, bookmarks are the original way to simplify revisiting a site.

In Safari on the Mac, save a bookmark by navigating to a page and then choosing Bookmarks > Add Bookmark. See your full list in the sidebar by choosing Bookmarks > Show Bookmarks. Click one in the list to load it. On an iPhone or iPad, tap the share icon and tap Add Bookmark; on the iPad, you can also drag a tab to the sidebar when it’s displaying bookmarks. You can see and visit your bookmarks by tapping the Bookmark icon in the toolbar (iPhone ) or the sidebar (iPad ).

Favorites

To make a particular bookmark even easier to access, add it to your Favorites. On the Mac, you can display the Favorites bar underneath the Location bar (View > Show Favorites Bar) and then click bookmarks for quick loading. Create a new favorite by putting a bookmark in the Favorites folder when you create it or by dragging it in later.

On the iPhone and iPad, favorites appear when you tap the Location bar, and adding a favorite is as simple as choosing Add Favorite instead of Add Bookmark in the share sheet.

As long as you have Safari enabled in your iCloud settings, your bookmarks and favorites sync among all your Apple devices.

Home Screen Icons

Want to go one step further? You can turn a Web page into a Home Screen icon on the iPhone or iPad. To set this up, just as with a bookmark, you navigate to the page and tap the share icon. Then select Add to Home Screen.

The Mac doesn’t have the same concept of Home Screen icons, but if you drag the URL for a Web page from the Location bar to your Mac’s Desktop, it will turn into a Web Internet Location file with a .webloc extension. It’s a normal file that you could put in the Dock, a Finder window’s toolbar, or anywhere else you want. Open it to load its page.

Bookmark Folders

Bookmarks and favorites are great for a site or two, but what if you want to open the same handful of sites every morning to get your daily dose of news and comics? Put all those sites in the same folder in the Favorites folder, either by adding them to the folder when you create them or by dragging them in afterward.

Once you have collected the desired bookmarks, you can open them all in new tabs by clicking the folder on the Favorites bar and choosing Open in New Tabs (or just Command-click it). If you don’t want it on your Favorites bar, the folder can live anywhere in your bookmarks—just Control-click it and choose Open in New Tabs.

This feature is available on the iPhone and iPad as well. Once the folder is in your Favorites, tap the Location bar and then touch and hold the folder. Choose Open in New Tabs from the menu that appears.

Tab Groups

Web browser makers were apparently unsatisfied with letting users open all the bookmarks in a folder in new tabs because they have come up with a similar feature called tab groups. Let’s say you’re researching new speakers to buy, and you want to compare options from different companies. Once you have open tabs for all the sites, you can open the sidebar in Safari on the Mac or iPad and use the Add Tab Group icon at the top to create and name a new tab group.

From then on, it appears in the sidebar, and when you select it, those tabs load automatically, replacing the ones that were there before (which are stored as another group). The feature is also available on the iPhone, where you must tap the tab icon in the toolbar first. Unlike a folder of bookmarks, when you close a tab in a tab group, it disappears, and if you want it back, you have to open it again manually.

Pinned Tabs

Perhaps you have several sites that are so important to you that you want them open at all times. For such situations, you can pin tabs to those sites. The utility of pinned tabs is that they stay in place even when you open a new window or quit and reopen Safari. Plus, if you click a link to a different website in a pinned tab, it opens in a new tab—pinned tabs always show the website you pinned. On the iPhone, where there’s no tab bar, pinned tabs live at the top of the tab screen. Each tab group can have its own pinned tabs.

To pin a tab in Safari on the Mac or iPad, drag an open tab all the way to the left in the tab bar until it shrinks into a tiny box showing only the site’s favicon. Or, on the Mac, Control-click the tab and choose Pin Tab (shown below). On the iPad, touch and hold the tab and select Pin Tab. To pin a tab on the iPhone, tap the tab icon first and then touch and hold a tab and select Pin Tab.

So there you have it! None of these features are particularly new, but they’re easily overlooked, and from what we’ve seen while watching people browse the Web, lots of people could benefit from them.

(Featured image by Adam Engst)