Apple Works to Improve Safety in the Wake of AirTag Stalking Reports
Over the past few months, there has been a spate of media reports about how people may have been tracked without their knowledge using AirTags, Apple’s elegant location trackers. Like many mainstream media forays into the tech world, the reports are often short on detail and sometimes unclear on the reality of how the AirTags work. Nor is it clear that there have been many successful cases of AirTag abuse, but the mere fact that people are trying to use AirTags to stalk others is concerning.
Apple put significant effort into preventing such abuses, revolving around three features:
- Safety alerts: If you have an iPhone or iPad running iOS 14.5 or later and an unknown AirTag is traveling with you, your device will alert you to that fact. Although safety alerts aren’t available for those using Android smartphones, Android users can download Apple’s Tracker Detect app to scan manually.
- Safety sounds: After an AirTag has been separated from its owner for several days, it will make a sound the next time it moves.
- NFC identification: If you find an AirTag, you can hold it up to an iPhone or other NFC-capable smartphone to load a website that reveals the AirTag’s serial number and the last four digits of the owner’s phone number. The police can use this information to learn the owner’s identity from Apple.
Sadly, those precautions haven’t been sufficient either to dissuade all would-be stalkers or to educate potential stalking victims (and let’s be real—dissuading stalkers is also a matter of educating people that it’s unethical, likely dangerous, and often illegal to abuse an AirTag in this way). Apple has responded in two ways, one general, the other specific to AirTags.
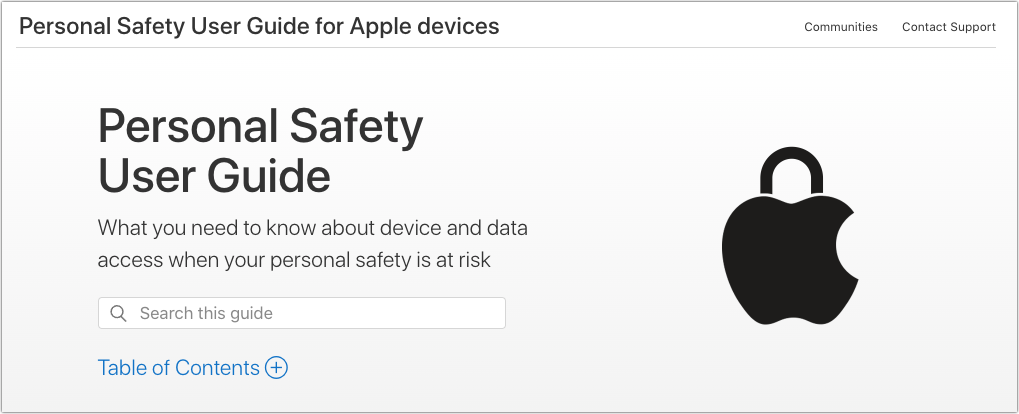
Personal Safety User Guide
Apple documents its products and services quite well, but the company tends to generate many focused pages without much high-level organization. It’s all too easy to flail around within Apple’s support documentation looking for help if you don’t know what search terms are likely to work. In an effort to mitigate that problem for issues surrounding personal safety, Apple has created the Personal Safety User Guide website, also available as a downloadable 56-page PDF.
The Personal Safety User Guide brings together numerous Apple support articles in two main sections:
- Review and take action: The first section helps you review how your devices and apps are set up, with a focus on settings that could expose you to harm. It helps you manage sharing settings, look at location sharing, control your Home accessories, and more. You’ll also learn how to block unknown sign-in attempts, document suspicious activity, delete suspicious content, and avoid fraudulent requests to share information, among much else. The main criticism here is that the section on AirTag safety doesn’t explain or link to all the features Apple provides.
- Safety and privacy tools: The second section is a bit more generic, providing support documentation that encourages you to take advantage of the features Apple has provided to protect your safety and privacy. Among other topics, it discusses passcodes, setting up Face ID and Touch ID, using two-factor authentication, seeing which apps are accessing your data, blocking unwanted calls and messages, and using Emergency SOS.
The Personal Safety Guide ends with three checklists, each of which walks you through a series of steps. These are extremely useful because almost no one would necessarily know or remember all the places to check. The checklists help you:
- See who has access to your device or accounts
- Stop sharing with someone
- Control how someone else can see your location
The Personal Safety User Guide website is best when you want an answer to a specific question, but it doesn’t lend itself to reading front to back. For that, we recommend downloading the PDF, which you can read at whatever depth you desire. But do at least scan the entire thing to get a sense of what it contains should you need that information later.
Apple AirTag Announcement
Shortly after releasing the Personal Safety Guide, Apple also posted a short but detailed statement on its website. In it, the company makes it clear that it is actively working with law enforcement on all cases involving AirTag abuse. Apple also says that it has updated its unwanted tracking documentation to explain AirTag safety features more clearly to users and to include resources for those who feel their safety is at risk.
Apple also outlined important advancements that will be coming to the AirTag and Find My network systems via software updates later this year:
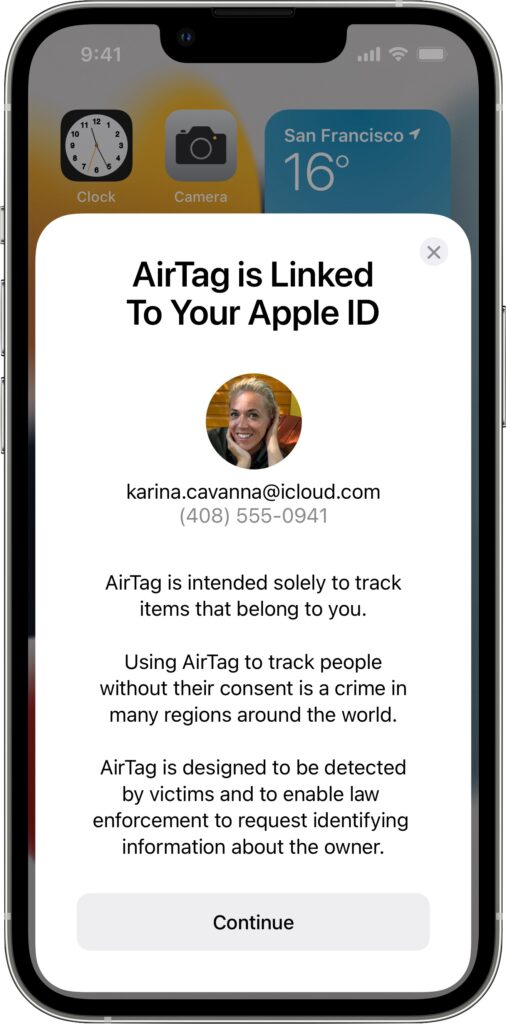 New privacy warnings during AirTag setup: To ensure that everyone understands the utility of AirTags and the implications of abuse, people setting up an AirTag for the first time will see a message that clearly states that AirTags are meant to track their own belongings, that tracking people without their consent is a crime in many places, that AirTags are designed to alert victims to their presence, and that law enforcement can request identifying information about the owner of an AirTag.
- Better alerts for AirPods: Instead of an “Unknown Accessory Detected” alert when your iPhone detects Find My network-compatible AirPods traveling with you, the alert will specify that AirPods are involved, not an AirTag. (There are third-party Find My network accessories that will still generate this alert, such as the Chipolo ONE Spot.)
- Refined unwanted tracking logic: Apple will be updating its unwanted tracking alert system to notify users sooner that an unknown AirTag or Find My network accessory is traveling with them.
- Precision Finding for unknown AirTags: Those with an iPhone 11, iPhone 12, or iPhone 13 will be able to take advantage of Find My’s Precision Finding feature to home in on the location of an unknown AirTag. Previously, this capability was limited to your own AirTags.
- Display alerts with unknown AirTag sound: When an unknown AirTag emits a sound to alert anyone nearby to its presence, and it’s detected moving with your iPhone or iPad, an alert will also appear to help you play the sound again or use Precision Finding, if available. This should help when an unknown AirTag is in a place that blocks sound or if its speaker has been disabled.
- More obvious AirTag alert sound: Apple will be adjusting the tone sequences to make an unknown AirTag’s alert sound easier to hear and find.
Overall, these changes are welcome, and it’s a testament to the care Apple took when designing the AirTag and Find My network systems that it can make such enhancements through software updates—no hardware changes are necessary. It’s also good to see Apple taking the problem—however small it might actually be—seriously and working to reduce it even further.
(Featured image by Apple)