What Is a Fusion Drive, and Why Should You Care?

There are two basic types of storage devices available today: hard disk drives and solid-state drives. For the lowest cost per gigabyte, you can’t go wrong with a hard drive, and they come in truly massive sizes—up to a whopping 10 terabytes. However, they’re relatively slow.

For speed, you want a solid-state drive, also known as an SSD. Because SSDs rely on flash storage, a type of non-volatile memory whose chips retain data without power, they’re lightning fast. But chips are more expensive than hard disk platters and read/write heads, so the $250–$300 that will get you an 8 TB hard drive is enough for only a 1 TB SSD.

In 2012, Apple came up with a compromise: the Fusion Drive. As its name suggests, a Fusion Drive melds a hard disk drive with flash storage to provide the best of both worlds. The user sees just a single volume, but behind the scenes, macOS automatically and dynamically moves frequently used files—notably those used by the operating system—to the flash storage portion of the Fusion Drive for faster access while keeping infrequently used files on the hard drive.

In essence, the Fusion Drive provides much of the speed of an SSD along with the capacity of a hard drive. What’s not to like?

There are some caveats. Good as a Fusion Drive is, it will never be as fast as a pure SSD, and you’ll probably notice that most when working with older files. Try editing some photos from last year in Photos and you’ll likely be working entirely on the slow hard drive.

Also, Apple provides the Fusion Drive as an option only for the iMac and Mac mini; there’s no room it in a modern MacBook. But not all Fusion Drives are created equal. They come in 1 TB, 2 TB, and 3 TB sizes, although not all iMac and Mac mini models can accept the larger Fusion Drives.\

Originally, all Fusion Drives had 128 GB of speedy flash storage alongside the hard drive, but in 2015, Apple reduced the amount of flash storage in the iMac’s 1 TB Fusion Drive to a paltry 24 GB (the Mac mini’s 1 TB Fusion Drive still has 128 GB). The company subsequently increased it to 32 GB, but if you’re buying a new iMac and want better performance from a Fusion Drive, go for either 2 TB or 3 TB, both of which have 128 GB of flash storage.

One final note. As of this writing, macOS 10.13 High Sierra will not convert a Fusion Drive to Apple’s new APFS file system. We anticipate that will change at some point in the next year, and APFS might make Fusion Drives even a bit faster.

All that said, if you want the best performance and can afford the cost, get an SSD. If you need more space than an SSD can provide, consider using the SSD internally and adding an external hard drive connected via USB 3 or Thunderbolt 3. Barring that, a Fusion Drive—particularly one with 128 GB of flash storage—remains a good compromise. Honestly, we can’t currently recommend a hard disk drive as the primary storage for a Mac unless low cost is paramount. Hard drive performance just isn’t good enough.

The Swipes You Need to Know to Multitask in iOS 11 on an iPad

With iOS 11, the iPhone and iPad interfaces continue to diverge, which makes sense, since the iPad is not merely an overgrown iPhone. Particularly when you pair an iPad Pro with a Smart Keyboard and Apple Pencil, you can now get real work done on an iPad more fluidly than ever before. The “hard” part is learning how you switch between apps, display a second app in a Slide Over panel that floats on top of another app, or make two apps share the screen in Split View.

Switch Between Apps

Moving between apps is a key aspect of using the iPad. Apple has provided multiple ways to switch so you can pick those that best fit your style:

  • Press the Home button, and on the Home screen, tap another app’s icon.
  • On the Home screen, swipe down to show Siri app suggestions and search for another app.
  • Within an app, swipe right or left with four fingers.
  • Within an app, swipe up from below the bottom of the screen to reveal the new Dock, and then tap an icon on it. Note that the three rightmost icons are the most recently used apps.
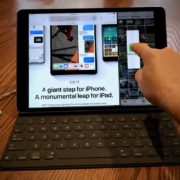
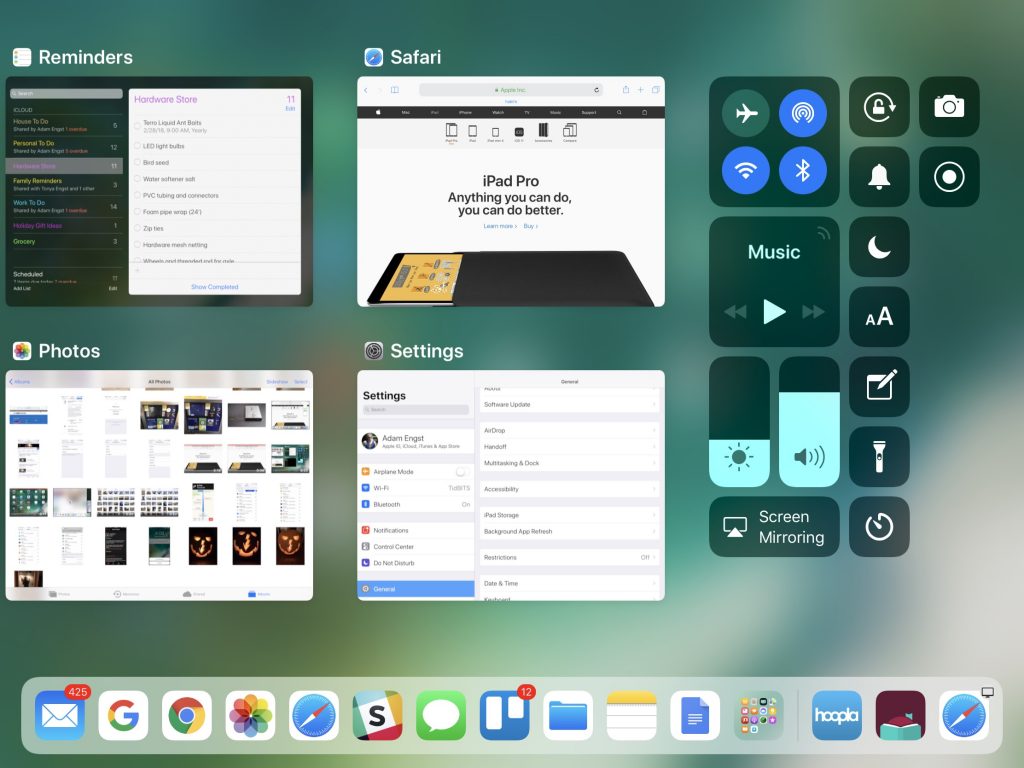
  • After revealing the Dock, keep swiping up to reveal the new app switching screen, then tap an app thumbnail to switch to it. Swipe right to see less recently used apps.
  • From a Smart Keyboard or other keyboard, press Command-Tab to bring up a Mac-like app switcher. Release both keys quickly to switch to the previous app instantly, or keep Command down while you press Tab repeatedly to move sequentially among the shown apps, letting up on Command to switch. While the app switcher is shown, you can also tap an icon in it.

Display an App in Slide Over

Say you’re having a sporadic conversation in Messages while browsing the Web in Safari. You don’t need to see both apps all the time, but you also don’t want to have to switch back and forth. With Slide Over, you can put Messages in a panel that floats over Safari and then hide and show it.

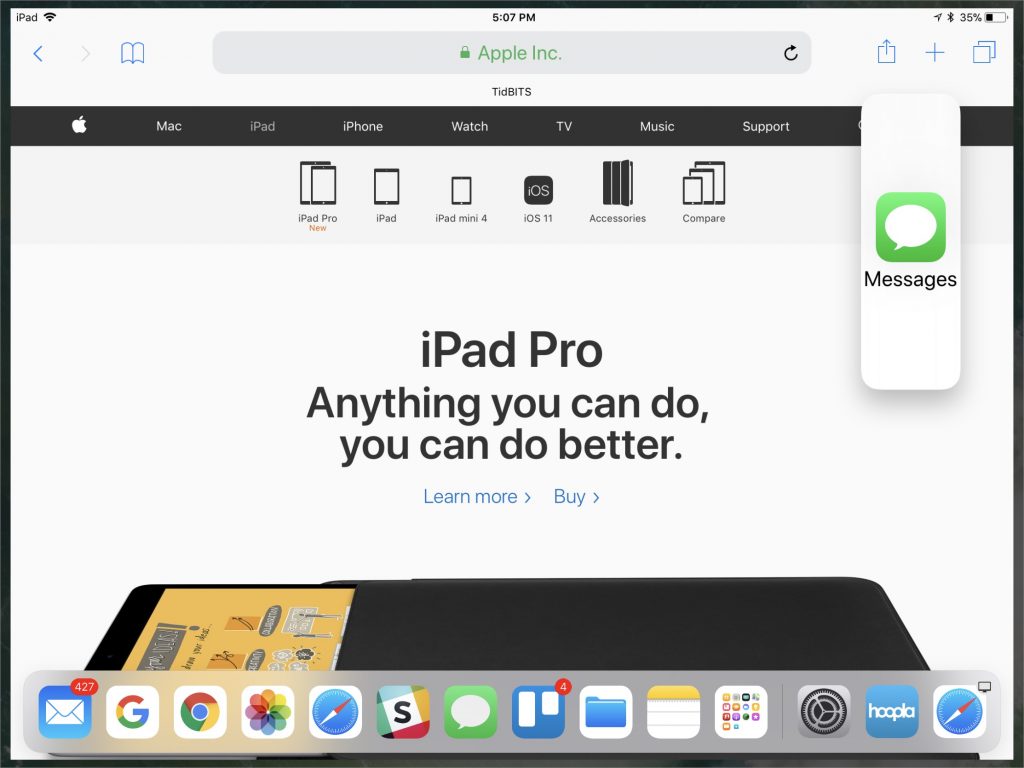
The easiest way to put an app in a Slide Over panel is to use the Dock, so this technique works if the app’s icon is already on the Dock. For instance, while you’re in Safari, swipe up from the bottom of the screen to display the Dock. Then touch and hold the Messages app’s icon until it dims slightly. Keeping your finger down, drag the icon over Safari until it becomes a vertical lozenge. Lift your finger, and Messages appears in Slide Over.

If the app you want to put in Slide Over isn’t on your Dock, you can use a two-handed procedure to get it from another location and drop it onto another app. For instance, you can start dragging an app icon from any place where app icons appear, including the Home screen or Siri search screen. Once you’ve started dragging it, use your other hand to switch to the other app (perhaps via the Dock or pressing Command-Tab on an external keyboard) and then drop it over the other app. Don’t worry if you find this approach confusing at first—it takes some time to become accustomed to two-handed usage.

Once an app is in Slide Over on the right side of the screen, you can swipe right on its left edge to hide it, or swipe left on its right edge to move it to the other side of the screen.

Put an App in Split View

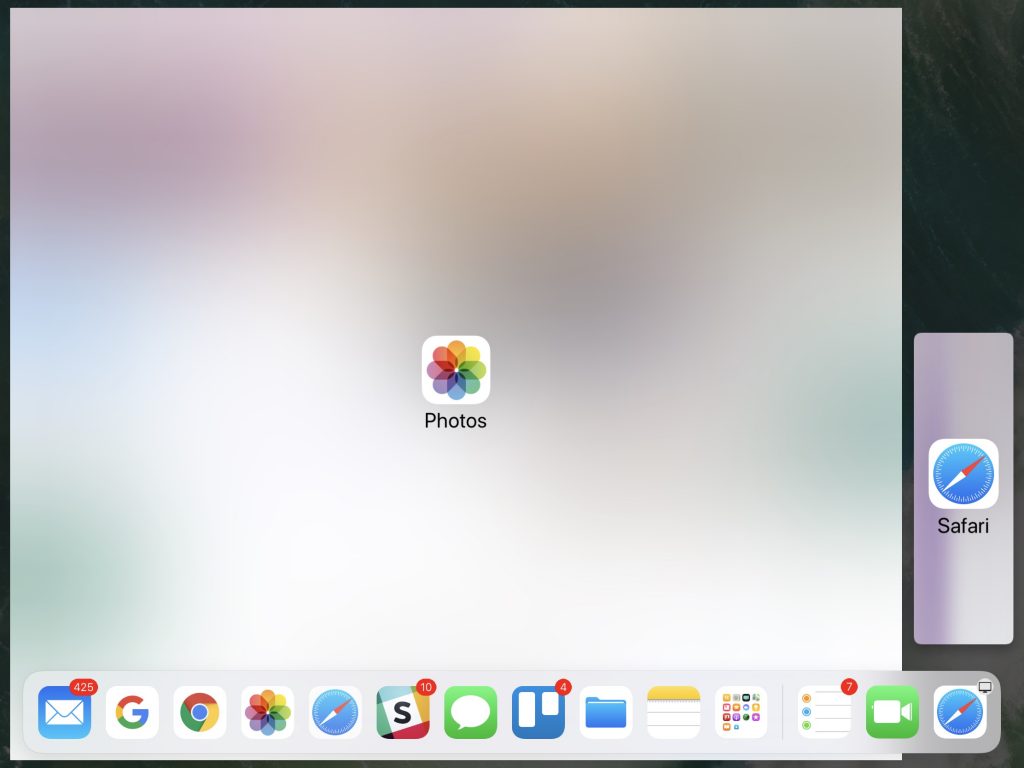
Displaying two apps side-by-side in Split View is almost the same action as Slide Over. The only difference is that, instead of dropping the app lozenge on top of the current app, you drag it to the far left or right of the screen, and drop it once the screen shows a 90/10 split—after you drop, the split changes to 70/30.

Drag the handle between the apps to switch to a 50/50 split or a 30/70 split; if you drag the handle all the way to one side of the screen, the app that’s shrinking in size disappears entirely. One of the two apps in Split View will have a handle on its top as well, and dragging it down slightly converts that app into a Slide Over panel. (You can also drag a Slide Over panel’s handle down slightly to switch to Split View.)

Take a few minutes and try putting apps in Slide Over and Split View in different ways, since some of the actions require practice before they feel natural. Finally, if combining two particular apps doesn’t seem to work, don’t fret. Apps must specifically support both Slide Over and Split View, and not all do.

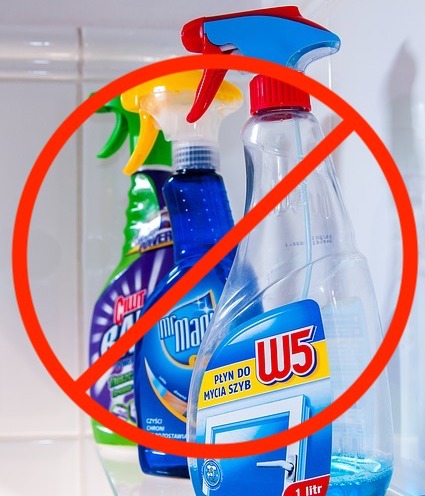
Don’t Use These Products to Clean Your iPhone (Or You’ll Wish You Hadn’t)

All iPhones pick up fingerprints, and it’s all too easy to get your iPhone dirty with ink, lotion, makeup, dirt, food, and oil. If you’re faced with an iPhone that needs cleaning, resist the urge to spray it with window cleaner, rubbing alcohol, or ammonia, or, even worse, to scrub it with baking soda or Borax. That’s because all iPhones have oleophobic—oil repellent—coatings on their glass surfaces that make it easy to wipe off fingerprints. You don’t want to remove that coating any faster than it will wear off normally, and cleaning products will strip it quickly. Instead, Apple recommends a soft, lint-free cloth such as you would use for glasses or camera lenses. By the way, even though the iPhone 7 and later have some level of dust and water resistance, it’s important to avoid getting moisture in the openings—most of the time, a lens cloth should be all you need.